How Long Does It Take To Replace Brake Pads Quick Brake Pad Change
Replacing brake pads is a task that many car owners face, and knowing how long it takes can help streamline your planning. It’s a straightforward process but requires a bit of attention to detail to ensure your vehicle remains safe and sound on the road.
Brake pad replacement typically takes between 30 minutes to 1 hour per axle, depending on your vehicle’s make and model. Factors such as expertise level and tool availability can influence this timeframe, but generally, it’s a quick repair that can fit into a busy schedule.
Introduction to Brake Pad Replacement

Replacing brake pads is a straightforward task that addresses both safety and vehicle performance. Typically, a professional mechanic can replace brake pads in about 30 minutes to an hour per axle. However, familiarity with the process and having the right tools can make this a quicker task for experienced individuals.
Why Brake Pads Need Replacing
Brake pads are essential for stopping your vehicle effectively. Over time, they wear down due to friction with the brake rotors. Worn brake pads can result in reduced braking efficiency, leading to longer stopping distances and increased risk of accidents. Regular replacement ensures optimal braking performance and safety.
Signs of Worn Brake Pads
- Squealing or Squeaking Noises: High-pitched noises when braking suggest worn pads.
- Grinding Sound: Indicates the brake pads are completely worn out and the metal is rubbing on the rotors.
- Vibration when Braking: Warped pads can cause a pulsating feeling in the brake pedal.
- Longer Stopping Distances: Noticeable decrease in braking efficiency.
- Dashboard Indicator Light: Some vehicles have sensors that trigger a warning light.
By recognizing these signs early, you can time your brake pad replacement to avoid costly repairs and maintain vehicle safety.
Factors Affecting Replacement Time
The time taken to replace brake pads isn’t set in stone. It varies based on several factors. Let’s delve into these key elements that influence the duration of this task.
Vehicle Type
The type of vehicle plays a significant role in brake pad replacement time. A compact car with straightforward brake assemblies might take less time compared to an SUV or truck. Larger vehicles often have more complex braking systems, which can add to the replacement time.
Brake System Design
Different brake system designs can affect how quickly pads can be replaced. For instance:
- Disc Brakes: Generally quicker to replace due to easier access.
- Drum Brakes: These might take longer because they require more disassembly.
Mechanic Experience
The experience level of the mechanic also influences the time. A seasoned professional familiar with your vehicle model can complete the job more swiftly. In contrast, a novice might take additional time to ensure accuracy.
Tip: Choose a mechanic with experience in your specific vehicle type for faster service.
In summary, the time required to replace brake pads depends on the vehicle type, brake system design, and the mechanic’s expertise. Understanding these factors can help you plan your schedule more effectively.
Typical Time Estimates

Professional Replacement
When opting for professional brake pad replacement, the process is typically streamlined and efficient. On average, a skilled technician can replace brake pads in about 1 to 2 hours. This includes the time for inspection, removal of the old pads, installation of the new ones, and a quick test drive to ensure everything is functioning properly.
DIY Replacement
For those considering a do-it-yourself approach, the time required can vary based on experience and preparedness. A DIY enthusiast with some mechanical knowledge might take about 3 to 4 hours to complete the task. This accounts for setting up, gathering tools, and following step-by-step guides or videos.
Tip: Ensure you have all necessary tools and parts ready before starting to avoid unnecessary delays.
Tools and Equipment Required
Essential Tools
To efficiently replace brake pads, having the right tools is non-negotiable. Here’s a concise list of what you’ll need:
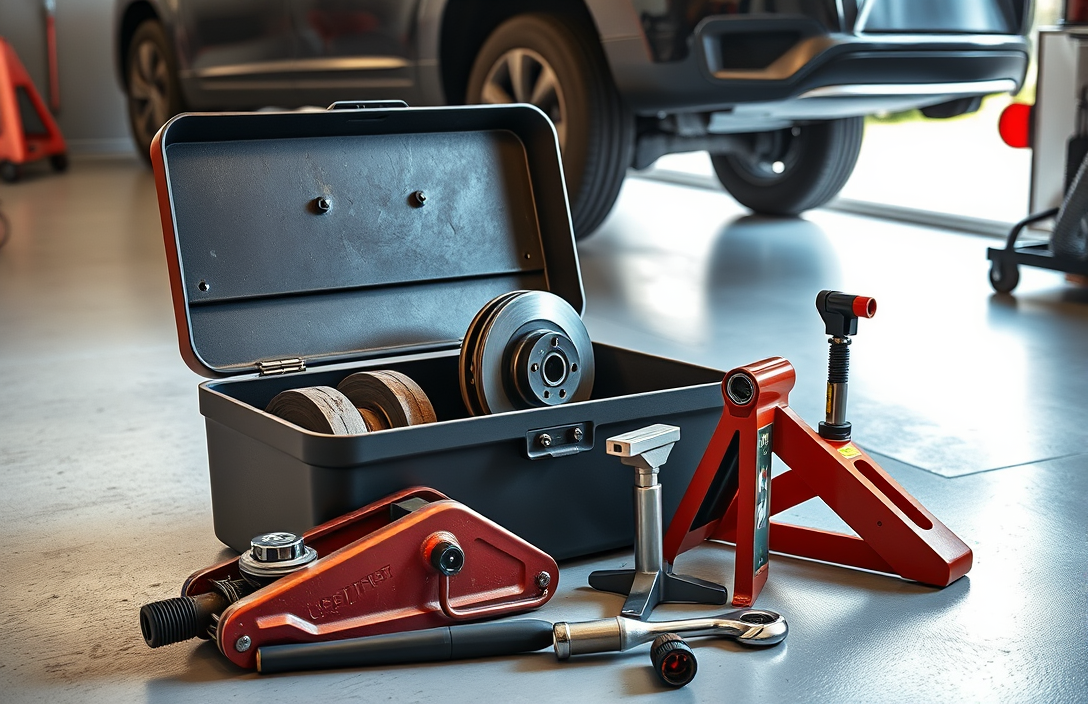
- Jack and Jack Stands – Essential for safely lifting and supporting the vehicle.
- Lug Wrench – Required to remove the wheel nuts.
- C-clamp or Brake Piston Tool – Used to compress the brake caliper piston.
- Socket Set and Ratchet – Necessary for removing the caliper bolts.
- Flathead Screwdriver – Helpful for removing the caliper clip or spring.
- Torque Wrench – Ensures that bolts are tightened to the manufacturer’s specifications.
- Brake Pad Spreader – Another tool option to press the piston back into the caliper.
Optional Tools
While not strictly necessary, these tools can make the process smoother:
- Brake Cleaner – Useful for cleaning brake components.
- Anti-seize Compound – Prevents bolts from sticking and eases future maintenance.
- Rubber Mallet – Can assist in loosening stuck components.
- Wire Brush – For cleaning rust from caliper brackets.
Tip: Always consult your vehicle’s manual for specific instructions and torque specifications for your model.
Step-by-Step Replacement Process
Preparation
Before starting, ensure all necessary tools and materials are ready. You’ll need a jack, jack stands, lug wrench, C-clamp, and new brake pads. Make sure the vehicle is parked on a level surface, and set the parking brake.
Removal of Old Pads
- Loosen Lug Nuts: Slightly loosen the lug nuts on the wheel with the brake pads to be replaced.
- Lift the Vehicle: Use the jack to lift the vehicle and secure it with jack stands for safety.
- Remove Wheel: Fully remove the lug nuts and take off the wheel.
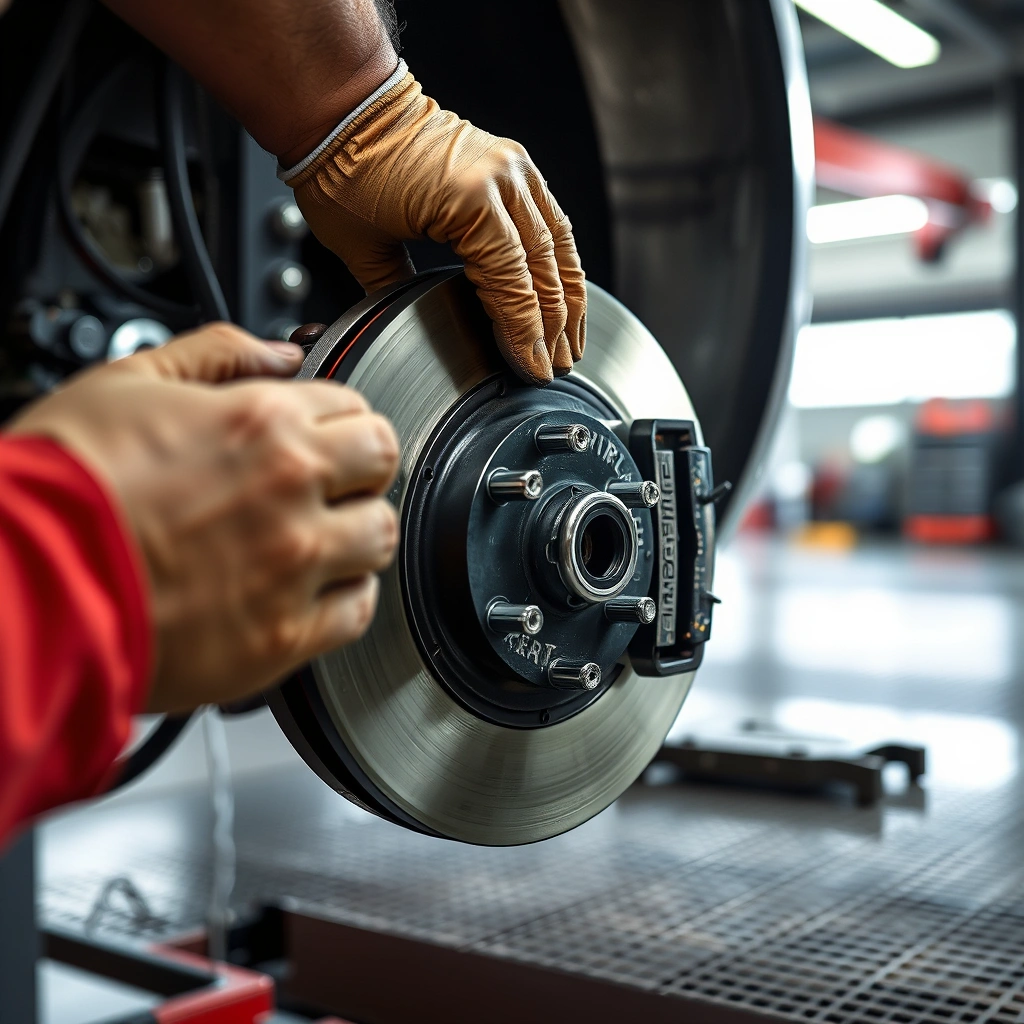
- Remove Caliper: Locate the brake caliper and remove the bolts holding it in place. Carefully slide it off the rotor, ensuring not to damage the brake line.
- Old Pads Removal: Take out the old brake pads from the caliper bracket.
Installation of New Pads
- Compress Caliper Piston: Use a C-clamp to gently push the caliper piston back into its housing to accommodate the new, thicker pads.
- Install New Pads: Place the new brake pads into the caliper bracket.
- Reattach Caliper: Reposition the caliper over the rotor and secure it with the bolts.
- Reinstall Wheel: Put the wheel back on, tighten the lug nuts by hand.
- Lower Vehicle: Remove the jack stands and carefully lower the vehicle.
- Tighten Lug Nuts: Fully tighten the lug nuts once the vehicle is on the ground.
Testing
Start the vehicle and pump the brake pedal to ensure proper pressure build-up before driving. Conduct a test drive at low speed to confirm the brakes are functioning correctly.
Best Practices for Efficient Replacement
Planning Ahead
Time efficiency starts with preparation. Before touching a wrench, ensure you have the correct brake pads for your vehicle model. Check the manufacturer’s specifications and confirm compatibility. Ordering parts online? Allow extra time for shipping.
Organizing Tools
- Socket Set: A full set ensures you have the right size for lug nuts and caliper bolts.
- Jack and Jack Stands: A hydraulic jack speeds up lifting, while stands ensure safety.
- C-Clamp or Brake Piston Tool: Necessary for compressing the brake caliper piston.
- Torque Wrench: Essential for safely securing lug nuts to the correct specification.
Lay out all tools within reach to minimize downtime during the process.
Safety Precautions
Safety should never be compromised. Wear safety glasses and gloves to protect against debris and sharp edges. Ensure the vehicle is on a flat surface before lifting. Double-check jack stands for stability. Never work under a vehicle supported only by a jack.
Tip: Consider timing your replacement for when you have no critical appointments. This allows for unforeseen challenges without stress.
Professional vs DIY: Time Comparison
Replacing brake pads can be tackled either by a professional mechanic or as a DIY project. Let’s compare the time investment for each method.
Pros and Cons of Each Method
Professional Replacement
- Time Required: Approximately 1 to 2 hours.
- Pros: Guaranteed expertise, less personal effort, potential warranty on service.
- Cons: Higher cost due to labor fees, may require scheduling and waiting for availability.
DIY Replacement
- Time Required: Approximately 2 to 4 hours, depending on experience and tools available.
- Pros: Cost-effective, personal satisfaction from doing the work, flexible timing.
- Cons: Requires tools and knowledge, higher risk of errors, no service warranty.
For those prioritizing speed, a professional service is generally faster and more reliable. DIY enthusiasts, however, may save money but should be prepared for a longer process and potential learning curve.
Scheduling Your Brake Pad Replacement
When to Schedule
Replacing brake pads is a task that should be scheduled with precision to minimize disruption to your schedule. On average, a brake pad replacement takes about 1 to 2 hours. This timeframe can vary based on the vehicle model and the mechanic’s proficiency. To ensure you’re not left waiting, it’s wise to book a time slot that allows for potential delays.
Finding the Right Service
Choosing a reliable service provider can further streamline the process. Consider these factors:
- Reputation: Look for mechanics or service centers with positive reviews and a track record of timely service.
- Convenience: Select a location that is easily accessible from your home or workplace.
- Appointment Flexibility: Providers offering online booking or extended hours can help fit the service into your busy schedule.
Tip: Schedule your appointment during off-peak hours, like mid-morning or early afternoon, to avoid longer wait times.
Quick Summary
- Replacing brake pads typically takes about 1 to 3 hours, depending on the vehicle make and model.
- Experienced mechanics may complete the task faster, while DIY efforts might take longer.
- Preparation and having the right tools, such as a jack, lug wrench, and brake pad spreader, can speed up the process.
- Regular brake inspections can identify wear early, ensuring timely replacement and avoiding complications.
- Scheduling the replacement during less busy hours at a service center can minimize waiting time.
- Consider the quality of brake pads, as higher quality pads may last longer, affecting future replacement intervals.
Frequently Asked Questions
How long does it take to replace brake pads?
Replacing brake pads typically takes about 1 to 2 hours for a professional mechanic. This time may vary slightly depending on the vehicle model and the mechanic’s experience.
Can I replace brake pads myself?
Yes, you can replace brake pads yourself if you have basic mechanical skills and the right tools. However, it is important to follow instructions carefully to ensure safety and efficiency.
What factors can affect the time it takes to replace brake pads?
Factors that can affect replacement time include the vehicle’s make and model, the condition of other brake components, and the mechanic’s experience. Additional repairs needed can also extend the time.
Do I need to replace brake pads on all wheels at once?
It is recommended to replace brake pads on both wheels of the same axle at the same time to ensure balanced braking. However, front and rear brake pads can be replaced at different times if necessary.
How often should brake pads be replaced?
Brake pads typically need replacement every 30,000 to 70,000 miles, but this varies based on driving habits and conditions. Regular inspections can help determine the right time for replacement.
- Find the Right Engine Oil for Your Car: A Quick Guide - March 1, 2026
- Car Battery Booster Basics: Start Your Vehicle in Minutes - March 1, 2026
- How Long Does It Take To Charge A Motorcycle Battery Charging Time Guide - February 28, 2026