How To Adjust Electric Brakes On Trailer For Smooth Towing Experience
Adjusting electric brakes on a trailer can seem daunting, but it’s an essential skill for any DIY enthusiast. Properly adjusted brakes ensure your trailer stops smoothly and safely, providing you peace of mind on the road.
To adjust electric brakes, locate the brake controller, tighten the star wheel, and test for the correct resistance. This ensures optimal braking performance and safety.
Introduction to Electric Trailer Brakes
What Are Electric Trailer Brakes?
Electric trailer brakes are a type of braking system that uses an electrical signal from the tow vehicle to control the trailer’s brakes. These brakes are typically mounted on the trailer’s axles and are activated when the driver applies the brakes in the tow vehicle. The strength of the braking force can be adjusted, allowing for smoother stops and better control.
Importance of Proper Adjustment
Adjusting electric trailer brakes is an important task for any trailer owner. Properly adjusted brakes ensure that the trailer stops effectively and safely. If the brakes are too tight, they could cause excessive wear on the trailer’s tires and brake components. On the other hand, if they are too loose, the trailer may not stop efficiently, putting both the driver and others on the road at risk.
Correct brake adjustment also helps in achieving a balanced braking system. This balance prevents the trailer from swaying or pulling to one side, which can be particularly dangerous at high speeds or in sudden stop situations. Regularly checking and adjusting the brakes can prevent these issues and contribute to a safer towing experience.
Tip: Always test your trailer brakes after making adjustments by towing the trailer at a slow speed in a safe area. This will help ensure that the brakes are functioning correctly.
Tools and Safety Precautions
Essential Tools
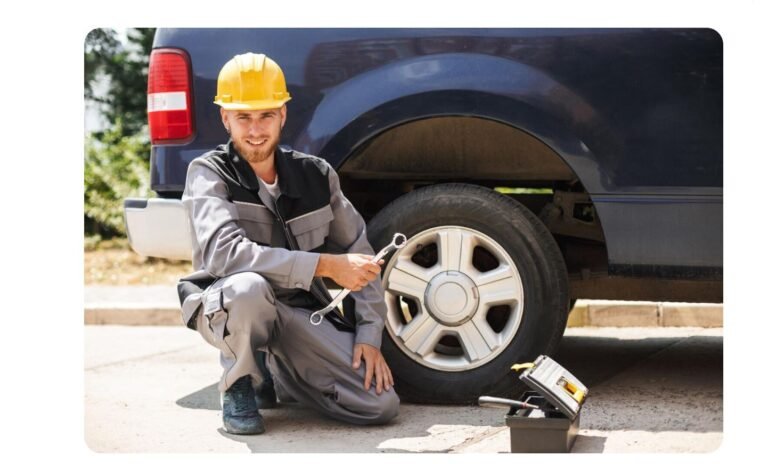
Before starting the process of adjusting electric brakes on your trailer, gather the necessary tools to ensure a smooth procedure. Here’s a quick checklist:
- Lug wrench – Used to remove the wheels.
- Jack and jack stands – For lifting and securing the trailer.
- Screwdriver – Typically a flathead for adjusting the star wheel on the brake assembly.
- Flashlight – Helpful for seeing into tight or dark spaces.
- Measuring tape – To measure brake drum and shoe distances if needed.
Safety Measures
Safety should be your top priority when adjusting trailer brakes. Follow these precautions to keep yourself safe:
- Work on a level surface – Prevents the trailer from rolling or tipping over.
- Use wheel chocks – Place them on the wheels that are still on the ground to prevent movement.
- Ensure the trailer is disconnected from the towing vehicle – To avoid accidental movement.
- Wear protective gear – Gloves and safety glasses protect against debris and sharp edges.
- Double-check all connections – Make sure the trailer is securely supported by the jack stands before you start working underneath.
By having the right tools and adhering to these safety measures, you’ll be well-prepared to adjust your trailer’s electric brakes safely and effectively.
Locating the Adjustment Mechanism
Identifying Brake Components
To locate the adjustment mechanism on trailer brakes, you first need to identify the brake components. Electric brakes typically have the following parts:
- Brake Drum: The large, round metal component covering the brake assembly.
- Backing Plate: The metal plate that mounts to the axle and holds the brake components.
- Shoes and Linings: Curved pieces inside the drum that push against it to stop the trailer.
- Adjustment Star Wheel: A small, toothed wheel used to adjust the distance between the brake shoes and the drum.
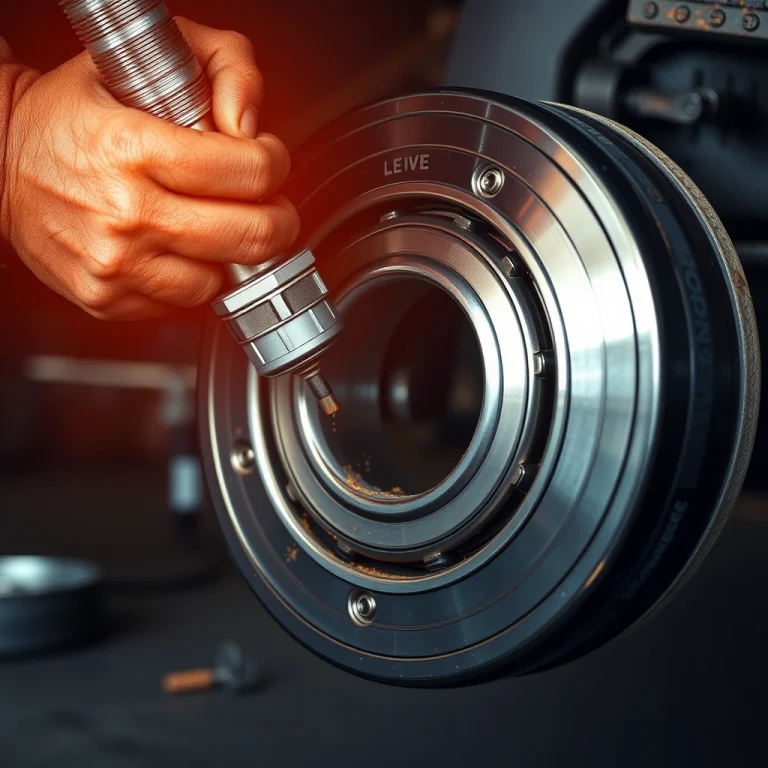
Accessing the Adjustment Star Wheel
The adjustment star wheel is typically located at the bottom of the brake assembly. Here’s how you can access it:
- Locate the Access Slot: On the backing plate, there is usually a small, covered slot. This is where you can reach the star wheel.
- Remove the Rubber Plug: Use a flathead screwdriver to pop out the rubber plug covering the access slot.
- Use a Brake Adjustment Tool: Insert the tool through the slot to reach the star wheel. Rotate the wheel to adjust the brakes.
Tip: Always adjust brakes on a level surface and ensure the trailer is securely supported before starting.
Adjusting the Brake Shoes
Turning the Star Wheel
First, ensure your trailer is securely supported using jack stands. This is important for safety while adjusting the brakes. Locate the access hole on the brake backing plate, which gives you entry to the star wheel adjuster. Using a brake adjusting tool or a flathead screwdriver, rotate the star wheel. Turn the wheel upward to expand the brake shoes outward toward the drum.
Adjust the star wheel until you feel a slight resistance when spinning the wheel by hand. It’s better to adjust incrementally-rotate a few clicks and then check the resistance. This ensures you don’t over-tighten the brakes.
Checking for Proper Resistance
After adjusting the star wheel, it’s essential to test whether the resistance is correct. Spin the wheel by hand; the wheel should make one full rotation before stopping. If the wheel spins more freely, tighten the star wheel a few more clicks. Conversely, if it stops too quickly, loosen the adjuster slightly.
Once you achieve the correct wheel rotation, perform a road test to ensure the trailer stops smoothly and evenly. Listen for any unusual noises or vibrations, which could indicate further adjustment is required.
Tip: Always adjust both brakes on the same axle to ensure balanced braking performance.
Testing the Brake Adjustment
Performing a Road Test
After adjusting the electric brakes on your trailer, it’s time to ensure they perform effectively. Start by driving your tow vehicle and trailer to a quiet and safe area with minimal traffic. Gradually increase speed to about 25 mph. Apply the trailer brakes using the brake controller in the tow vehicle, without pressing the vehicle’s brakes. The trailer should slow down smoothly without locking up the wheels.
Observe how the trailer responds. If the trailer brakes are too aggressive, causing the wheels to lock, you need to reduce the brake gain on the controller. If the trailer takes too long to stop or feels like it’s pushing the tow vehicle, increase the gain slightly.
Fine-Tuning Adjustments
Once the initial road test is complete and you’ve noted the trailer’s braking behavior, make adjustments as needed. Return to your brake controller settings:
- To Increase Sensitivity: Turn the gain up slightly if the trailer doesn’t stop effectively.
- To Decrease Sensitivity: Lower the gain if the trailer wheels lock or if braking feels too abrupt.
After each adjustment, perform another road test to observe changes. Repeat this process until the trailer brakes engage smoothly and efficiently in harmony with the tow vehicle.
Tip: Always test your brakes under different conditions – such as various speeds and road surfaces – to ensure consistent performance.
Properly adjusted brakes will enhance safety and provide a more pleasant towing experience.
Troubleshooting Common Issues
Uneven Braking
If you notice that one side of your trailer brakes more aggressively than the other, it might be due to uneven adjustment or faulty wiring. Start by checking the brake adjustment on both sides. Ensure that each wheel’s brake shoe is properly aligned and adjusted to the same tightness. If the problem persists, inspect the electrical connections and wiring for corrosion or damage, as this can cause uneven power distribution.
Noise Issues
Hearing unusual noises when braking can be alarming. Common culprits include worn brake pads or improperly adjusted brakes. Check the brake pads and replace them if they are worn down. If the pads are in good condition, ensure the brakes are adjusted correctly – they should be tight enough to stop the wheel but not overly tight to cause friction when the brakes are not applied. Clean any dust or debris from the brake components, as this can also contribute to noise.
Brake Lockup
Brake lockup can be hazardous and often happens due to over-adjustment or a malfunctioning brake controller. First, verify that the brake controller is set appropriately for the weight of your trailer. If the controller settings are correct, reduce the tension on the brake adjuster slightly to prevent the brakes from locking up. Additionally, verify that the brake drums are not excessively worn or damaged, as this can exacerbate lockup issues.
Maintenance Tips for Long-Lasting Brakes
Regular Inspection
To ensure the longevity and performance of your trailer’s electric brakes, regular inspection is essential. Begin by checking the brake controller settings in your towing vehicle. Make sure that the brake gain is set according to the manufacturer’s recommendations for the weight of your trailer. Inspect the brake shoes for even wear and replace them if they are below the minimum thickness specified by the manufacturer.
Examine the wiring connections for any signs of corrosion or damage. Loose or corroded connections can lead to inconsistent braking performance. Tighten any loose connections and replace damaged wires as necessary.
Cleaning and Lubrication
Keeping the brake components clean is vital for their proper function. Dirt and debris can accumulate in the brake drum and affect braking efficiency. Use a brake cleaner to remove any buildup from the brake assembly. Avoid using water as it can cause rusting.
Lubrication of moving parts is also important. Apply a suitable high-temperature brake grease on the contact points of the brake shoes and the backing plate. Be careful not to get grease on the brake linings, as this can reduce braking effectiveness.
Tip: Keep a log of your inspections and maintenance activities. This will help you track when parts were last checked or replaced.
By regularly inspecting and maintaining your trailer’s electric brakes, you can ensure they provide reliable performance and last longer. This proactive approach will help you avoid unexpected issues on the road, keeping your towing experience safe and smooth.
When to Seek Professional Help
Signs of Serious Issues
While adjusting electric brakes on your trailer can be a manageable task, there are situations where professional assistance becomes necessary. Here are some signs that indicate it’s time to seek help:
- Persistent Noise: If you hear grinding or squealing even after adjustments, it could signal worn components.
- Uneven Braking: Brakes that pull to one side or don’t engage evenly might need more than a simple adjustment.
- Overheating: Brakes that heat up excessively could indicate serious issues with components or settings.
- Electrical Problems: Flickering lights or inconsistent brake signals suggest electrical issues needing expert attention.
Choosing a Professional Service
Once you’ve decided professional help is necessary, choosing the right service is key. Consider these tips:
- Experience and Reputation: Look for services with a solid track record in trailer brake systems.
- Certifications: Ensure technicians are certified to handle electric brake systems.
- Customer Reviews: Check online reviews or ask for references to gauge past customer satisfaction.
- Warranty: A service offering warranty on their work provides an extra layer of security.
- Clear Communication: Choose a service that communicates clearly about the issues and the repair process.
By paying attention to these signs and choosing a reliable service, you can ensure the safe and effective operation of your trailer’s brakes.
Quick Summary
- Begin by safely parking the trailer on a level surface and chocking the wheels to prevent movement during adjustment.
- Locate the electric brake controller in the towing vehicle and familiarize yourself with its settings and sensitivity controls.
- Disconnect the trailer’s electrical connector from the towing vehicle to prevent any unintentional electrical engagement.
- Adjust the brake controller’s gain setting to a low level to start, ensuring a gradual increase in braking force.
- Re-test the trailer brakes by driving at a low speed and applying the brakes. Adjust the gain setting incrementally until you achieve smooth and effective braking.
- Check each wheel for proper brake application by manually rotating them; the wheels should resist rotation when brakes are applied.
- Ensure all adjustments are secured and reconnect the trailer’s electrical connection before taking the trailer on the road for a test drive.
Frequently Asked Questions
How do I know if my trailer’s electric brakes need adjustment?
If you notice the trailer pulling to one side, a longer stopping distance, or uneven wear on your brake pads, it’s time to adjust the brakes. Regular inspection for these signs ensures safety and optimal performance.
What tools are required to adjust electric brakes on a trailer?
You’ll need a jack, a wrench, and a brake adjustment tool or screwdriver. These tools help in accessing and adjusting the star wheel that controls the brake shoe position.
Can I adjust my trailer’s electric brakes by myself?
Yes, it’s possible to adjust them on your own if you are comfortable with basic mechanical tasks. Follow the manufacturer’s guidelines and ensure safety precautions are taken during the process.
How often should I adjust my trailer’s electric brakes?
It’s advisable to check and adjust your brakes every 3,000 miles or if you experience any changes in braking performance. Regular maintenance helps in preventing excessive wear and tear.
What is the process to adjust electric brakes on a trailer?
First, lift the trailer and secure it. Remove the wheel to access the brake assembly, then use a brake adjustment tool to turn the star wheel until the drum has slight resistance when rotated by hand.
- Find the Right Engine Oil for Your Car: A Quick Guide - March 1, 2026
- Car Battery Booster Basics: Start Your Vehicle in Minutes - March 1, 2026
- How Long Does It Take To Charge A Motorcycle Battery Charging Time Guide - February 28, 2026