How To Bleed Engine Cooling System Step-by-step Guide For Diyers
Feeling confident under the hood and ready to dive into some car maintenance? Bleeding your engine’s cooling system might not sound thrilling, but it’s essential for a healthy, well-functioning vehicle.
Bleeding the cooling system ensures no air pockets disrupt coolant flow, preventing overheating and **maintaining engine efficiency**.
Understanding the Cooling System
Bleeding an engine cooling system might seem daunting, but understanding its components and role can make this maintenance task much simpler. An efficient cooling system is essential for your vehicle’s performance and longevity, as it prevents the engine from overheating.
Components of the Cooling System
The cooling system comprises several parts working together to manage engine temperature:
- Radiator: This component dissipates heat from the coolant. It has a network of tubes and fins that enable heat transfer to the air.
- Water Pump: A critical part that circulates coolant throughout the system, ensuring it reaches all necessary areas.
- Thermostat: Regulates the coolant flow based on engine temperature, allowing the engine to warm up quickly and maintain an optimal temperature.
- Coolant: A liquid mixture, usually water and antifreeze, that absorbs engine heat and protects against freezing and corrosion.
- Hoses: These flexible tubes connect various components, allowing coolant to flow freely between them.
- Expansion Tank: Collects excess coolant that expands with heat, maintaining pressure stability.
Role of the Cooling System
This system’s primary function is to remove excess heat from the engine, maintaining a consistent operating temperature. A balanced temperature prevents potential damage caused by overheating, like warped components or engine failure. Furthermore, it ensures the engine runs efficiently, contributing to better fuel economy and performance.
Tip: Regularly check the coolant level and quality. A low coolant level or contaminated coolant can lead to overheating and system failure.
Why Bleeding the Cooling System is Necessary
Air Pockets and Their Effects
Bleeding the engine cooling system is essential because air pockets can disrupt the cooling process. When air becomes trapped in the system, it creates blockages that prevent coolant from circulating properly. This can lead to uneven cooling and potential overheating. Over time, these air pockets can cause metal parts to warp or even lead to engine failure.
Signs Your System Needs Bleeding
Recognizing when your cooling system requires bleeding can save you from costly repairs. Here are some signs to watch out for:
- Temperature Fluctuations: If your temperature gauge shows erratic readings, it may indicate trapped air.
- Heater Malfunction: A common symptom of air in the cooling system is ineffective heating. If your car heater is blowing cold air, it might be due to air pockets.
- Unusual Noises: Gurgling or bubbling sounds from the engine bay can be a sign of air trapped in the system.
By regularly bleeding the cooling system, you ensure that air pockets are removed, allowing the coolant to flow smoothly. This not only prevents overheating but also extends the lifespan of your engine components. Keeping your cooling system free of air ensures optimal performance and efficiency, safeguarding your vehicle from unnecessary damage.
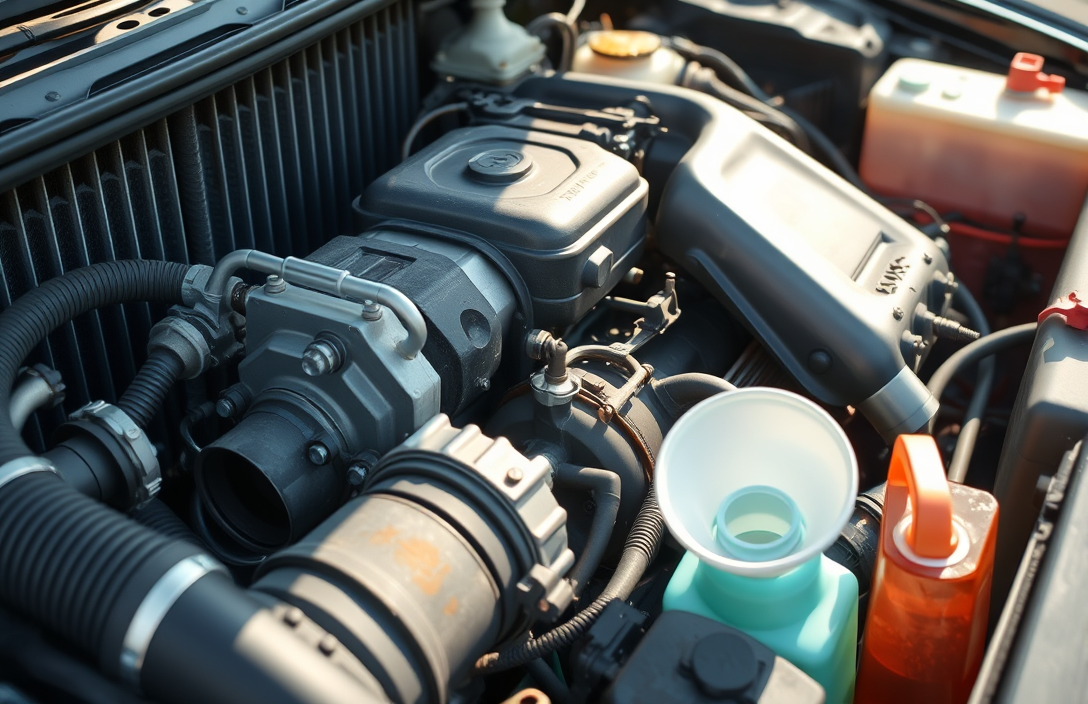
Tools and Materials Needed
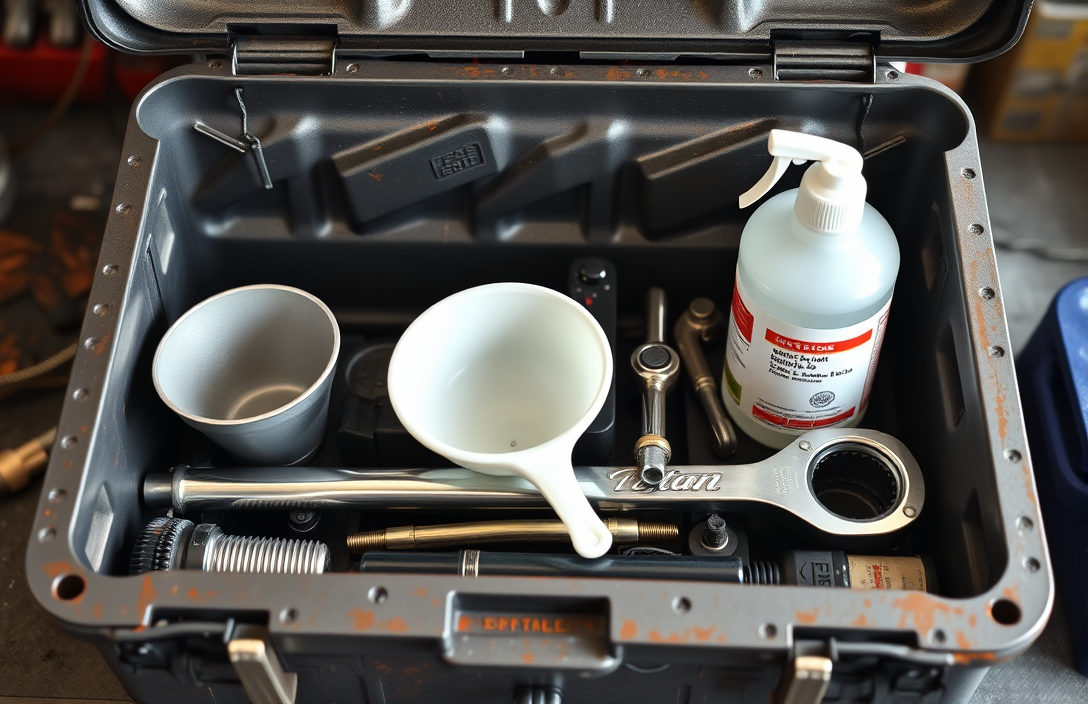
Bleeding your engine cooling system requires some specific tools and materials to ensure the process is smooth and effective. Here’s what you’ll need:
- Coolant: Use the type specified in your vehicle’s manual to prevent corrosion and overheating.
- Drain Pan: Collect old coolant safely to prevent spills and environmental harm.
- Funnel: Helps pour new coolant into the reservoir without spilling.
- Coolant Bleeder Kit: Facilitates air removal from the system, ensuring efficiency and ease.
- Gloves: Protects your hands from hot coolant and sharp components.
- Safety Glasses: Shield your eyes from splashes and debris.
- Rags or Towels: Useful for cleaning up spills and wiping off any excess coolant.
- Socket Set or Wrench: Necessary for loosening the radiator cap and any bleeder valves.
Each of these items plays a part in ensuring the cooling system is bled correctly, keeping your engine running smoothly. Having everything ready before starting will save time and prevent frustration.
Tip: Always work on a cool engine. Hot coolant can cause burns and injury.
Preparation Steps
Safety Precautions
Before you start working on bleeding the engine cooling system, ensure your safety by taking the following steps:
- Cool Engine: Make sure the engine is completely cool. Opening the cooling system while the engine is hot can cause burns from escaping steam or hot coolant.
- Protective Gear: Wear gloves and safety goggles to protect yourself from any accidental splashes of coolant.
- Well-Ventilated Area: Perform the work in a well-ventilated area to avoid inhaling any harmful fumes from the coolant.
Preparing the Vehicle
Proper preparation of your vehicle ensures a smooth bleeding process. Follow these steps:
- Check Coolant Level: Ensure the coolant reservoir is filled to the correct level. Top it up if necessary with the recommended type of coolant for your vehicle.
- Locate Bleed Screws: Identify the locations of the bleed screws on your vehicle. These are often found on the radiator and the thermostat housing.
- Stabilize the Vehicle: Park the vehicle on a level surface and engage the parking brake to ensure it doesn’t move during the procedure.
- Access Tools: Gather necessary tools such as a screwdriver or wrench that fits the bleed screws, a funnel, and a clean container for excess coolant.
- Disconnect Battery: For added safety, disconnect the negative terminal of the battery to prevent any electrical issues.
Tip: Always keep a clean rag handy to wipe up any spills immediately, as coolant can be harmful to pets and the environment.
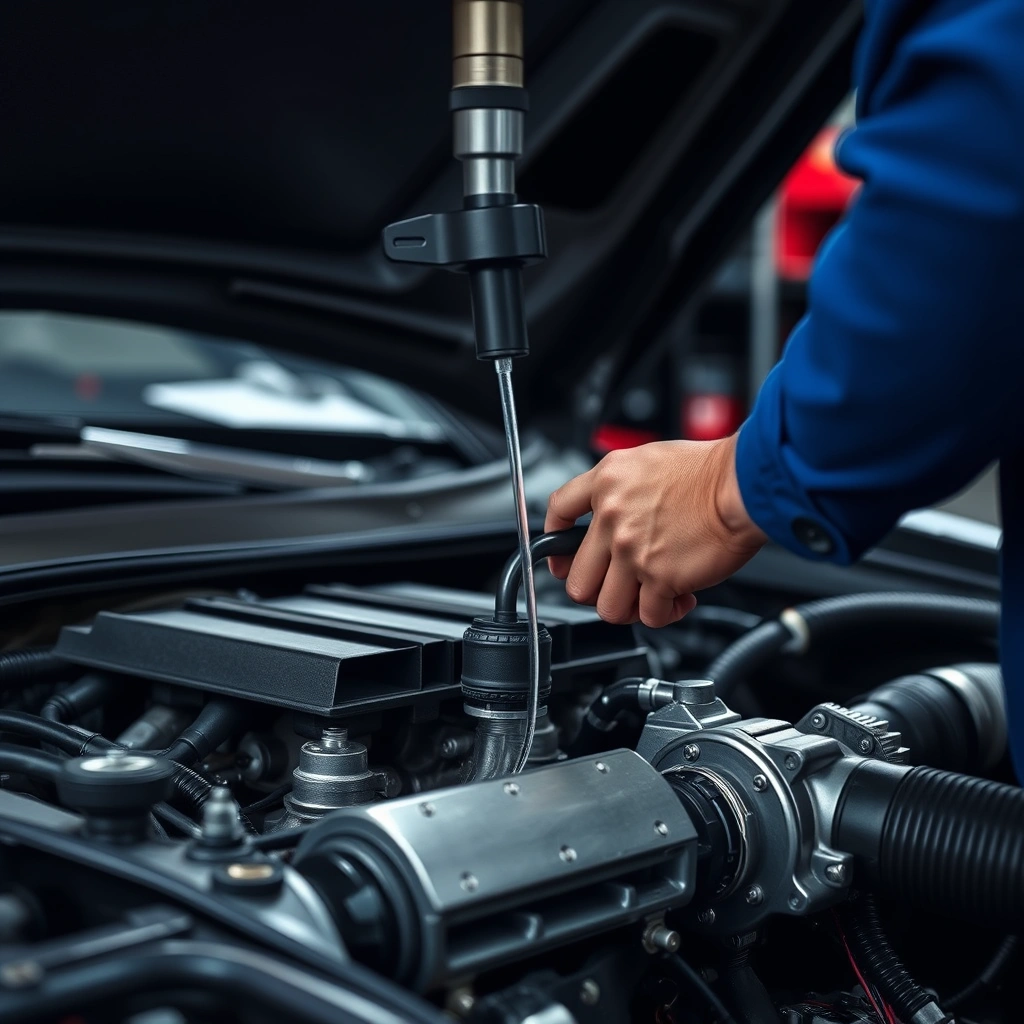
Step-by-Step Bleeding Process

Locating the Bleed Valve
To start, identify the bleed valve in your vehicle’s cooling system. This valve is usually located near the top of the radiator or the engine block. It may also be found on a hose leading to the heater core. Refer to your vehicle’s manual for the exact location.
Bleeding the System
Once you have located the bleed valve, gather the necessary tools: a screwdriver or wrench (depending on your vehicle’s valve type) and a container to catch any coolant.
- Start the Engine: Turn on your vehicle and let it idle. This allows the coolant to circulate and any trapped air to move towards the bleed valve.
- Open the Bleed Valve: Using your screwdriver or wrench, carefully open the bleed valve. Be cautious as hot coolant may escape. Allow the air to escape until you see a steady stream of coolant.
- Close the Valve: Once the air bubbles stop and only coolant flows out, close the bleed valve securely.
- Check Coolant Levels: After closing the valve, turn off the engine and allow it to cool slightly. Then, check the coolant reservoir and top it up if necessary.
Tip: Work in a well-ventilated area and use protective gloves to avoid contact with hot coolant.
Repeat the process if necessary to ensure all air is expelled. This simple procedure can prevent overheating and ensure your cooling system functions effectively.
Post-Bleeding Checks
Checking for Leaks
Once you’ve bled the engine cooling system, it’s time to ensure everything is functioning smoothly. Start by inspecting the system for any signs of leakage. Leaks can often be found at hose connections, the radiator, or the water pump.
- Hose Connections: Check for any drips around hose clamps. Tighten them if necessary.
- Radiator: Look for coolant pooling under the vehicle, which might indicate a radiator leak.
- Water Pump: Inspect for any moisture around the pump’s weep hole. Moisture here may suggest a failing seal.
If you discover any leaks, address them promptly to avoid further complications.
Testing the System
After confirming there are no leaks, it’s time to test the cooling system under operational conditions. Start your engine and let it reach its normal operating temperature.
- Temperature Gauge: Monitor the temperature gauge on your dashboard. It should stay within the normal range without excessive fluctuation.
- Heater Functionality: Turn on your vehicle’s heater. If the bleeding process was successful, the heater should blow warm air without any temperature drops.
- Coolant Level: Once the engine cools down, check the coolant level in the reservoir. It should be at the recommended level. Top up if necessary.
These steps ensure your cooling system is working correctly and helps prevent future overheating issues.
Common Mistakes and How to Avoid Them
Overfilling the System
One common mistake is adding too much coolant, thinking more is better. Excessive coolant can lead to increased pressure, causing leaks or damage to the system. To avoid this, always check your vehicle’s manual for the correct coolant level and use a funnel to pour slowly. Stop frequently to check the level and ensure you don’t exceed the ‘Max’ mark on the reservoir.
Ignoring Air Pockets
Air pockets can cause overheating and inefficient cooling. When bleeding the system, it’s important to allow any trapped air to escape. Here’s how:
- Elevate the Front: Park your vehicle on an incline or use ramps to raise the front. This encourages air to rise to the radiator cap.
- Open the Bleeder Valve: If your system has a bleeder valve, open it while the engine is cool. This helps air escape directly.
- Run the Engine: Start the engine with the radiator cap off and the heater set to maximum. This circulation helps push air out.
- Check the Coolant Level: Once air bubbles stop rising, check and adjust the coolant level as needed.
Tip: Always refill with the correct coolant blend recommended by the manufacturer to prevent corrosion and maintain efficiency.
Maintenance Tips for Optimal Cooling
Bleeding your engine’s cooling system is a task that can prevent overheating and ensure your vehicle runs smoothly. Here’s how to do it effectively:
Regular Inspection Routine
Start by ensuring the engine is cool. Open the radiator cap and check the coolant level. Top it up with the appropriate coolant mixture if necessary.
Locate the bleed valve on the cooling system. This is often found on the thermostat housing or near the radiator. Consult your vehicle’s manual for the exact location.
With the engine off, open the bleed valve slightly. Allow air bubbles to escape until a steady stream of coolant flows out. Close the valve securely once the air is purged.
Start the engine and let it idle. As the engine warms up, air pockets may move towards the bleed valve. Repeat the bleeding process if needed.
When to Seek Professional Help
If you notice persistent overheating, coolant leaks, or air continues to be trapped in the system despite bleeding, it might be time to consult a professional. These could indicate underlying issues such as a faulty thermostat, water pump, or head gasket problems.
Tip: Always use the coolant recommended by your vehicle’s manufacturer to prevent corrosion and scale build-up.
Maintaining your cooling system by regularly bleeding it can prevent many future issues, ensuring your vehicle’s engine remains in good health.
Quick Summary
- Ensure the engine is cool before starting the bleeding process to prevent burns or injuries.
- Locate the radiator cap and expansion tank cap, and remove them to allow air to escape during the bleeding process.
- Start the engine and let it idle; this will help circulate the coolant and push air bubbles towards the top.
- Observe the coolant level and add more if necessary, ensuring it remains at the recommended level throughout the process.
- Look for a bleed valve on the cooling system, usually located near the thermostat housing or radiator; open it slightly to release trapped air.
- Continue to observe the coolant flow for steady stream without bubbles, indicating that the system is free of air.
- Once the system is bled, replace the caps securely and check for proper heating and cooling system operation during a test drive.
Frequently Asked Questions
Why is it important to bleed the engine cooling system?
Bleeding the cooling system removes trapped air pockets, which can cause overheating and reduce cooling efficiency. It ensures the system operates effectively and prevents potential engine damage.
What tools do I need to bleed my engine cooling system?
You’ll need a socket set, a flathead screwdriver, and a coolant funnel. Having a catch pan to collect any spilled coolant can also be helpful.
How do I know when the cooling system has been properly bled?
The coolant level should remain stable without dropping significantly after running the engine. Additionally, the heater should blow hot air consistently, indicating no air is trapped.
Can I bleed the cooling system on a hot engine?
It’s safer to work on a cool engine to avoid burns from hot coolant. Wait for the engine to cool down before attempting to bleed the system.
How often should I bleed the engine cooling system?
Bleeding is typically necessary after any cooling system maintenance or when replacing coolant. Regular checks during routine maintenance can help identify if bleeding is needed due to trapped air.
- Find the Right Engine Oil for Your Car: A Quick Guide - March 1, 2026
- Car Battery Booster Basics: Start Your Vehicle in Minutes - March 1, 2026
- How Long Does It Take To Charge A Motorcycle Battery Charging Time Guide - February 28, 2026