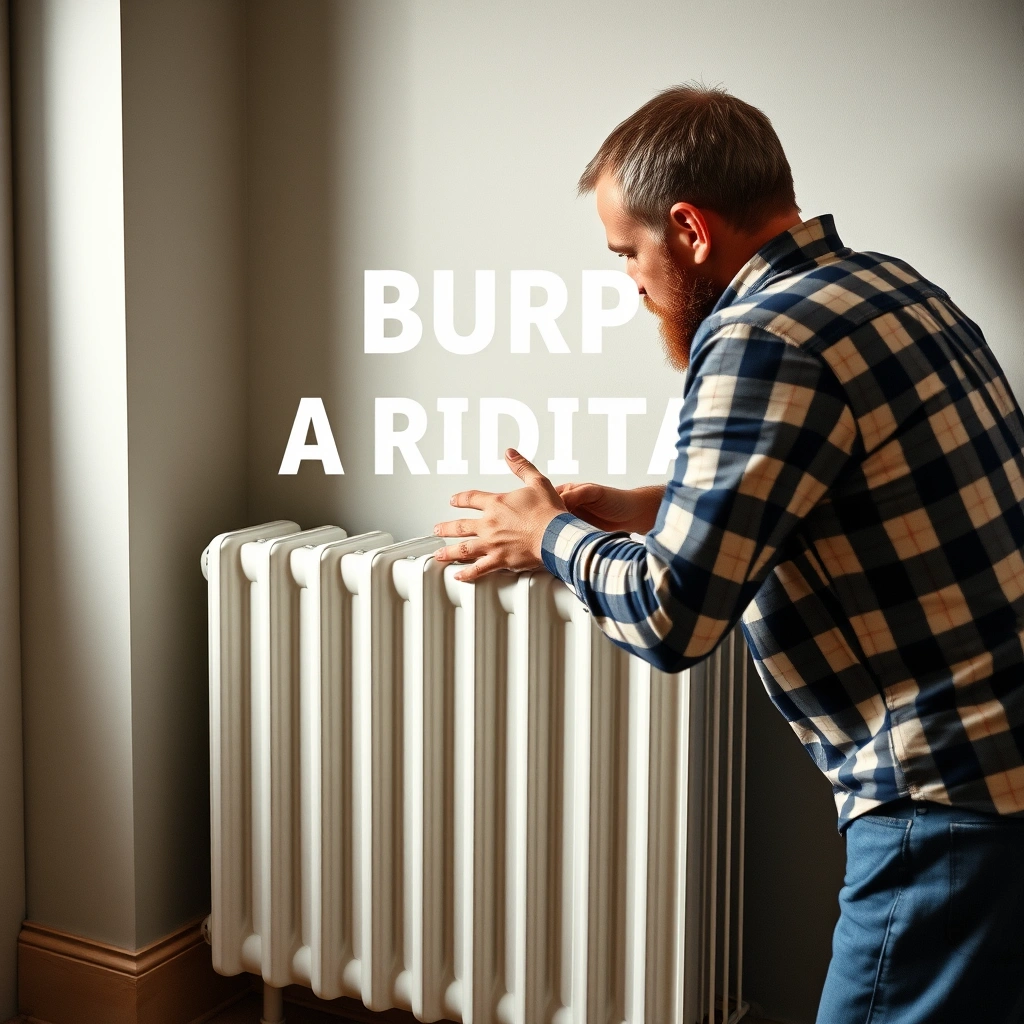
How To Burp A Radiator | Easy Steps For Diy Enthusiasts
Dealing with an overheating car can be frustrating, especially when the culprit is air trapped in the radiator. This common issue can lead to inefficient cooling, but there’s a straightforward fix that you can tackle yourself.
Burping a radiator involves removing trapped air to ensure optimal coolant flow, improving performance and preventing overheating.
Understanding the Cooling System
Components of the Cooling System
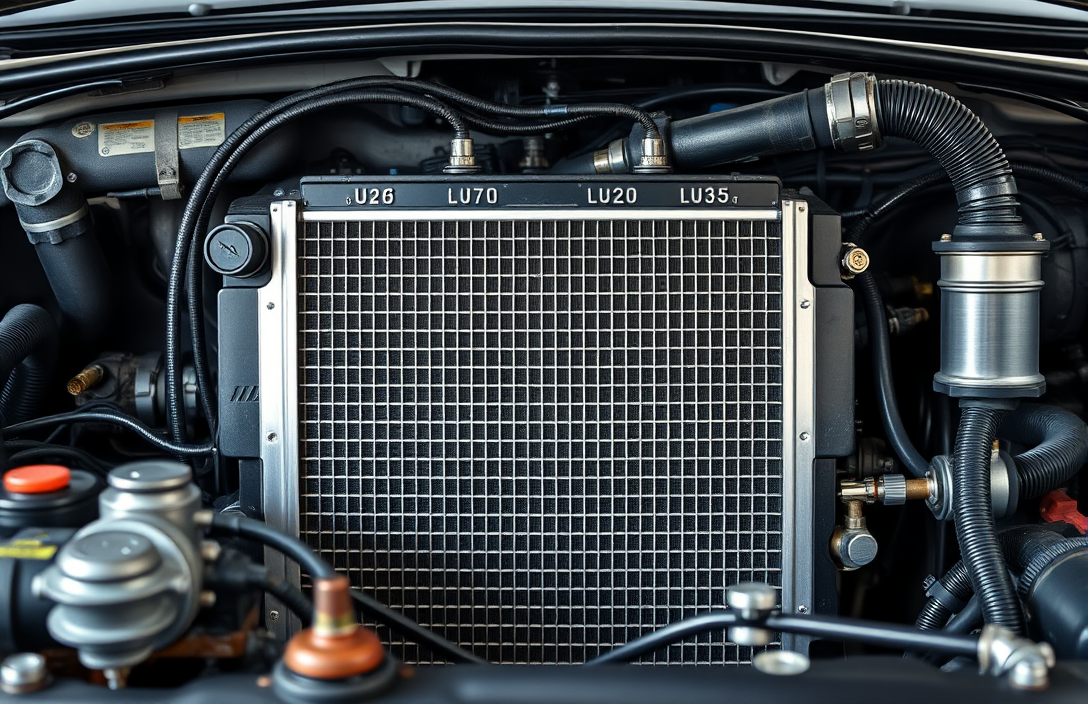
The vehicle’s cooling system is designed to regulate engine temperature, ensuring it runs efficiently without overheating. Key components include the radiator, thermostat, water pump, cooling fan, and hoses.
- Radiator: Transfers heat from the coolant to the air.
- Thermostat: Regulates the flow of coolant based on temperature.
- Water Pump: Circulates coolant throughout the system.
- Cooling Fan: Assists in maintaining optimal temperature by drawing air through the radiator.
- Hoses: Facilitate the movement of coolant between components.
Importance of Proper Function
Maintaining a well-functioning cooling system is essential for preventing engine damage. If the system fails, the engine could overheat, leading to costly repairs. Properly burping the radiator – removing trapped air – is a simple but critical task to ensure the cooling system operates correctly.
Tip: Regularly check coolant levels and look for any signs of leaks to keep your cooling system in top shape.
Why Burping a Radiator is Necessary
Effects of Air Pockets
Air pockets in a radiator can lead to several problems. When air is trapped, it disrupts the coolant flow, causing uneven temperature distribution. This can lead to overheating, as certain parts of the engine may not be cooled effectively. Additionally, trapped air can cause the water pump to cavitate, leading to reduced system performance and potential pump damage.
Signs of Trapped Air
Recognizing the signs of trapped air can help you address the issue promptly. Common indicators include:
- Fluctuating temperature gauge readings.
- Heater blowing cold air even when the engine is warm.
- Gurgling or bubbling sounds from the radiator or heater core.
Addressing these issues by burping the radiator ensures the removal of air pockets, maintaining consistent engine temperatures and preventing damage.
Tools and Materials Required

Essential Tools
Here’s a list of tools you’ll need to burp your radiator effectively:
- Wrench or Socket Set: To remove any bolts or screws securing the radiator cap or bleed valve.
- Funnel: Helpful for pouring coolant back into the radiator without spilling.
- Coolant Catch Pan: To collect any coolant that might spill out during the process.
- Gloves: Protect your hands from hot surfaces and liquids.
Recommended Products
Consider having these products on hand to ensure a smooth operation:
- Coolant: Have extra coolant ready to top off the radiator, ensuring it’s the right type for your vehicle.
- Radiator Cleaner: Beneficial for cleaning the system if needed.
- Thermometer: Useful for checking the engine temperature to avoid overheating.
Tip: Always work on the radiator when the engine is cool to prevent burns from hot coolant.
Preparing Your Vehicle
Before you start burping your radiator, it’s essential to prepare your vehicle properly to ensure the process goes smoothly and safely.
Safety Precautions
Safety should always be your first priority when working on your vehicle. Follow these steps to minimize risk:
- Cool Down: Make sure the engine is completely cool before you begin. Opening a hot radiator can cause severe burns.
- Protective Gear: Wear gloves and safety goggles to protect yourself from any splashes of coolant.
- Well-Ventilated Area: Perform the procedure in a well-ventilated area to avoid inhaling fumes.
Initial Inspection
Check your vehicle to ensure everything is in the right condition for burping the radiator:
- Check Coolant Levels: Ensure the coolant level is adequate. Add more if necessary, but do not overfill.
- Inspect the Radiator Cap: Make sure the radiator cap is in good condition. Replace it if you notice any cracks or damage.
- Examine Hoses: Look for any visible leaks or worn hoses that might need addressing before proceeding.
Tip: Use a flashlight to better inspect hard-to-see areas.
Once you’ve completed these steps, your vehicle is ready for the burping process. Proceed with caution and follow the steps for burping the radiator to ensure all air pockets are removed effectively.
The Burping Process Explained

To effectively burp a radiator, follow these steps to remove trapped air and ensure your cooling system functions smoothly.
Step-by-Step Instructions
- Park on a Level Surface: Ensure your vehicle is parked on a flat surface and the engine is completely cool before starting.
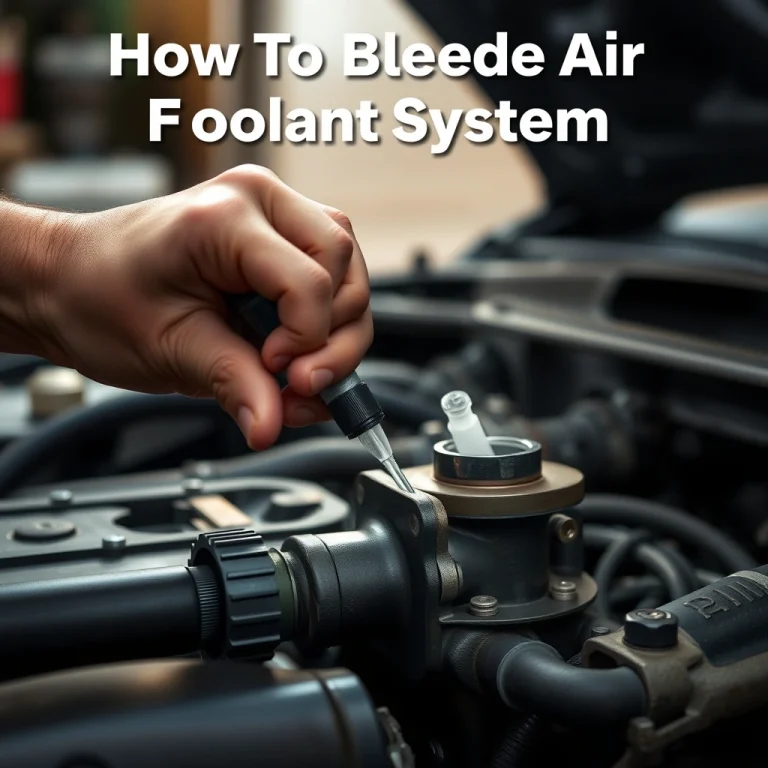
- Remove the Radiator Cap: Slowly twist the radiator cap counterclockwise to remove it. Be cautious of any pressure buildup, especially if the engine is still warm.
- Start the Engine: With the radiator cap off, start the engine and let it idle. This helps circulate the coolant and expel any trapped air.
- Monitor Coolant Levels: Keep an eye on the coolant level in the radiator. As air is released, the level may drop. Add more coolant as needed to keep the radiator full.
- Watch for Air Bubbles: Continue to let the engine run until you see bubbles stop rising in the coolant. This indicates that the air has been removed.
- Replace the Radiator Cap: Once bubbles cease and the coolant level is stable, turn off the engine and securely replace the radiator cap.
Tips for Success
- Use the correct type of coolant recommended for your vehicle to avoid any compatibility issues.
- Consider using a funnel to prevent spills while adding coolant.
- If you notice persistent overheating or air bubbles, a mechanic may need to check for leaks or a faulty thermostat.
Post-Burping Inspection
Checking for Leaks
Once you’ve burped the radiator, the first step is to check for any leaks in the cooling system. Leaks may indicate areas where air could still enter, reversing your hard work. Inspect around the radiator, hoses, and connections for any signs of coolant escaping. Look for wet spots, puddles, or a sweet smell, which are telltale signs of coolant leaks.
Ensuring Proper Coolant Levels
After verifying the absence of leaks, confirm that the coolant level is correct. With the engine off and cool, remove the radiator cap cautiously. The coolant should be near the top of the radiator neck. If it’s low, add the necessary amount of coolant. Don’t forget to check the overflow reservoir as well, ensuring it’s at the correct level between the ‘min’ and ‘max’ markings.
Afterwards, start the engine and let it idle until it reaches its normal operating temperature. Monitor the temperature gauge to ensure it doesn’t overheat. This also helps circulate the coolant and ensure proper distribution within the system.
Tip: If the temperature gauge rises too high during the test, turn off the engine immediately and allow it to cool before rechecking the coolant level.
Finally, take the vehicle for a short drive and keep an eye on the temperature gauge to verify that the system is functioning correctly. If the temperature remains stable and no warning lights appear, the burping process has been successful.
Troubleshooting Common Issues
Persistent Air Pockets
If air pockets keep appearing in your radiator despite burping it, ensure the radiator cap is functioning correctly. A faulty cap can let air into the system, creating pockets. Check that the cap seals tightly and replace it if necessary.
An effective way to remove stubborn air pockets is to elevate the vehicle’s front end slightly. This helps trapped air move towards the radiator cap. Use ramps or a jack, ensuring the vehicle is secure before proceeding. Restart the burping process with the heater on and the radiator cap off.
Overheating Problems
If your vehicle overheats after burping the radiator, first verify that the coolant level is adequate. Low coolant can lead to overheating. Make sure the engine is cool before checking and refilling the coolant.
Inspect for leaks in the cooling system. Look for wet spots or puddles under the car, and check hoses, the radiator, and the water pump for signs of leakage. Repair any leaks you find to prevent air from being drawn in.
Another potential cause of overheating is a malfunctioning thermostat. If the thermostat is stuck closed, it will not allow coolant to circulate properly, causing the engine to heat up. Consider testing or replacing the thermostat if overheating persists.
Tip: Always allow the engine to cool down completely before opening the radiator cap to avoid burns.
Maintenance Tips for the Cooling System
To burp a radiator, begin by ensuring your engine is completely cool. This process involves releasing trapped air from your car’s cooling system, which can cause overheating if left unattended.
Regular Checks
Park your vehicle on a level surface. Open the hood and locate the radiator cap, ensuring the engine is cool to the touch. Remove the cap carefully to avoid any residual pressure release.
Start the engine and set your heater to the maximum. This allows the coolant to circulate through the entire system. Let the engine idle until it reaches normal operating temperature.
Observe the coolant level in the radiator. As the thermostat opens, you may notice the level dropping. Gradually add coolant as needed. You might see air bubbles escaping through the coolant – this is normal and indicates air is being released.
Continue this process until the bubbling stops and the coolant level stabilizes. Once completed, replace the radiator cap securely. Turn off the engine and allow it to cool before checking the coolant level one final time, topping off if necessary.
Signs of Potential Issues
- Overheating: If the temperature gauge rises above normal, air might still be trapped.
- No Heat from Heater: Air in the system can prevent hot coolant from circulating through the heater core.
- Gurgling Sounds: This noise can indicate air pockets moving through the cooling system.
Address these signs promptly to maintain optimal cooling system performance.
Quick Summary
- Start by turning off your vehicle and allowing the engine to cool down completely to avoid burns or injury.
- Locate the radiator cap and loosen it slowly to release any built-up pressure before removing it entirely.
- Find the radiator drain valve, typically at the bottom of the radiator, and open it to drain the old coolant into a container.
- Close the drain valve and refill the radiator with a mixture of new coolant and water, following your vehicle’s specifications.
- Start the engine and let it run with the heater on high, allowing the coolant to circulate and any trapped air to escape through the open radiator cap.
- Watch for air bubbles escaping and continue until they subside, then top off the radiator with more coolant if needed.
- Replace the radiator cap securely once all air is removed and check for leaks or issues during a short test drive.
Frequently Asked Questions
What is the purpose of burping a radiator?
Burping a radiator helps remove air pockets trapped in the cooling system. This ensures the engine cools properly and prevents overheating.
How can I tell if my radiator needs to be burped?
Signs that your radiator needs burping include fluctuating temperature gauge readings and heater not working efficiently. You might also notice gurgling noises from the radiator.
What tools do I need to burp a radiator?
You’ll need a funnel, a container for coolant, and possibly a wrench to open the radiator cap or bleed valve. Make sure your engine is cool before starting.
Can burping a radiator be done on all types of vehicles?
Yes, most vehicles with a radiator-based cooling system can be burped. However, the process may vary slightly, so it’s good to check your vehicle’s manual for specific instructions.
Is it safe to burp a radiator by myself?
Yes, it is generally safe to burp a radiator yourself as long as you follow proper safety precautions. Ensure the engine is cool to avoid burns from hot coolant.
- Find the Right Engine Oil for Your Car: A Quick Guide - March 1, 2026
- Car Battery Booster Basics: Start Your Vehicle in Minutes - March 1, 2026
- How Long Does It Take To Charge A Motorcycle Battery Charging Time Guide - February 28, 2026