How To Check Alternator With Meter Diy Alternator Testing Guide
The alternator is a crucial component in your vehicle’s electrical system, responsible for keeping the battery charged and powering the electrical components. Knowing how to test your alternator can save you time and money on unnecessary trips to the mechanic.
To check an alternator with a meter, ensure your multimeter is set to DC voltage, connect the leads to the battery terminals, and observe the voltage reading. A healthy alternator will show a voltage between 13.8 and 14.4 volts.
Understanding Alternators

What is an Alternator?
An alternator is a critical component of your vehicle’s electrical system. It’s tasked with converting mechanical energy into electrical energy, which powers various systems within the car while also charging the battery. Without a functioning alternator, your car’s battery would quickly deplete, leaving you stranded.
Alternator Functionality
Alternators work by using a belt-driven rotor that spins inside a set of stationary windings. This motion generates alternating current (AC), which is then converted into direct current (DC) via a rectifier to be used by your vehicle’s electrical systems. The alternator also regulates the voltage to ensure that the battery and other components receive a consistent supply of electricity.
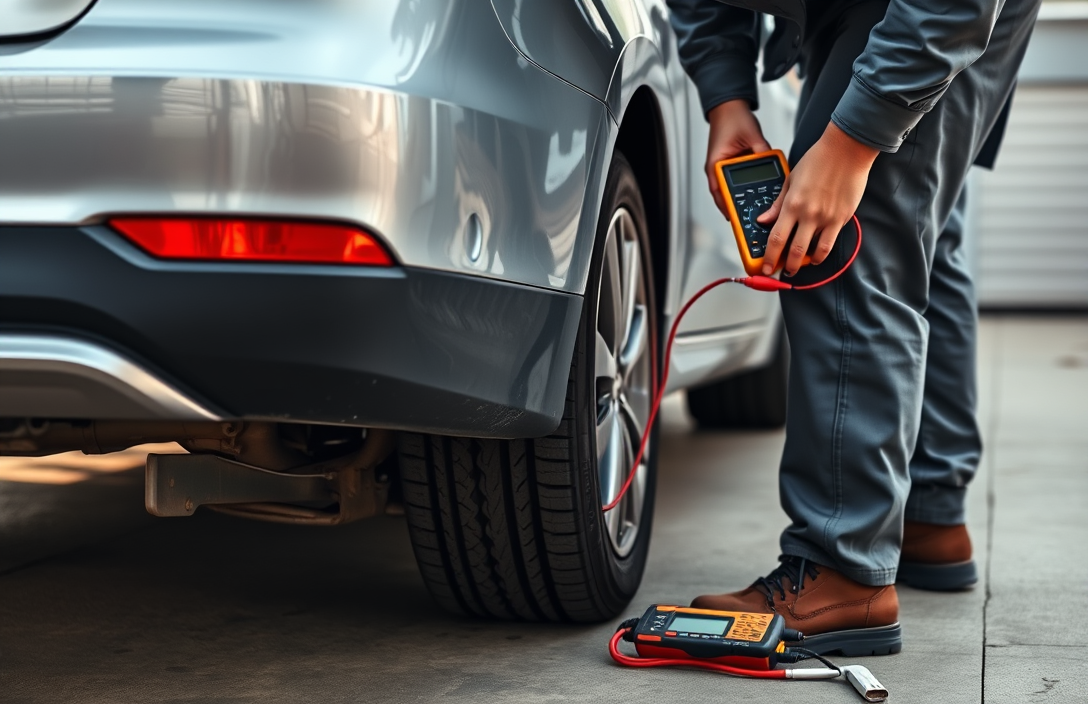
To check an alternator with a meter, you’ll need a multimeter set to measure DC voltage. With the engine running, connect the multimeter’s positive lead to the positive terminal of the battery and the negative lead to the negative terminal. A healthy alternator should produce a voltage between 13.8 and 14.4 volts. If the reading is outside this range, it may indicate a problem with the alternator or its connections.
Tip: Always ensure that connections are clean and secure before testing, as dirty or loose terminals can affect the reading.
Tools Required for Testing
Multimeter Basics
Testing an alternator requires a digital multimeter – an indispensable tool for any DIY enthusiast. This device measures voltage, current, and resistance, giving you a comprehensive view of your alternator’s condition. Here’s what to keep in mind while using a multimeter for testing:
- Set the Multimeter: Adjust the multimeter to the DC voltage setting, typically represented by a “V” with a straight line over it.
- Check Voltage: Place the red probe on the battery’s positive terminal and the black probe on the negative terminal. A healthy alternator should produce between 13.8 and 14.4 volts.
- Inspect for Consistency: Maintain a steady engine speed; fluctuations in voltage readings may suggest a problem with the voltage regulator or alternator itself.
Safety Gear
Safety is paramount when working with automotive electrical systems. Equip yourself with appropriate safety gear to prevent accidents:
- Insulated Gloves: Protect your hands from electric shock and burns.
- Safety Goggles: Shield your eyes from potential sparks or battery acid.
- Protective Clothing: Wear long sleeves and pants to minimize skin exposure.
Tip: Always disconnect the battery before starting any work to avoid short circuits and potential injuries.
Preparing for the Test
Vehicle Setup
To prepare for the alternator test, start by ensuring your vehicle is parked on a flat, stable surface. Engage the parking brake to prevent any movement. Turn off the engine and all electrical accessories, such as lights and the radio, to avoid interference with the test results.
Open the hood and locate the alternator. It is typically found near the front of the engine, driven by a belt. Ensure you have easy access to the alternator and its connections. Having a flashlight on hand can be helpful if visibility is poor.
Safety Precautions
Safety should be your top priority. Before you begin, make sure the engine is off and cool to the touch to prevent burns. Wear safety glasses to protect your eyes from any unexpected sparks or debris.
Ensure your multimeter is functioning correctly by checking its battery and setting it to the proper voltage range. For automotive tests, set the multimeter to DC voltage, typically indicated by a solid line above a dashed line on the dial. Confirm that the multimeter leads are in good condition and correctly plugged into the meter. The black lead should be connected to the common (COM) port, and the red lead should be connected to the voltage (V) port.
Finally, make sure your workspace is organized and free of any clutter that could cause accidents. Keep all tools and equipment within reach to avoid unnecessary movement during the testing process.
Performing a Preliminary Check
Before diving into a detailed alternator test with a meter, start with a preliminary check to ensure everything is ready for accurate results. This involves a couple of simple yet effective steps.
Visual Inspection
Begin by visually inspecting the alternator and its surrounding components. Look for any obvious signs of wear or damage such as frayed wires, cracked housing, or loose connections. Ensure that all the connections are tight and free from corrosion, as these could affect the alternator’s performance and your test results.
Checking Battery Health
The alternator relies on the battery to function properly, so it’s important to check the battery’s health before testing the alternator. A weak or faulty battery can skew your results and lead to incorrect conclusions about the alternator’s condition.
- Inspect the Battery: Look for any signs of corrosion on the terminals and clean them if necessary. Ensure the battery cables are tightly connected.
- Check Battery Voltage: Use a multimeter to measure the battery voltage. A fully charged battery should read around 12.6 volts. If the voltage is significantly lower, consider charging or replacing the battery before proceeding with the alternator test.
Tip: If the battery voltage is low, charge the battery and retest it before concluding there’s an issue with the alternator.
Completing these preliminary checks sets a solid foundation for further testing with a meter, ensuring accurate and reliable results in your alternator assessment.
Conducting the Alternator Output Test

Setting Up the Multimeter
First, ensure your multimeter is in good working condition. Set the dial to measure DC voltage, indicated by a “V” symbol with a straight line. Most alternators operate within 12 to 14.8 volts, so choose a range that covers these values if your multimeter requires it.
Turn off all vehicle accessories like the radio, headlights, and air conditioning, as these can affect the test results. Ensure the vehicle is parked safely with the parking brake engaged.
Measuring Voltage Output
Start the vehicle’s engine and let it idle. This allows the alternator to produce voltage for testing. With the engine running, use the multimeter probes to check the voltage at the battery terminals. Connect the red probe to the positive terminal and the black probe to the negative terminal.
Reading the Results: A healthy alternator typically outputs between 13.8 and 14.4 volts. If the reading is below 13.8 volts, the alternator may not be charging the battery adequately. A reading above 14.4 volts could indicate overcharging, which can damage the battery.
Tip: If your readings are outside the normal range, consider checking the alternator belt and connections for any visible issues before replacing the alternator.
Interpreting Test Results
Normal Voltage Range
When testing your alternator with a meter, you’re primarily checking the voltage it produces. A healthy alternator will typically show a voltage between 13.5 and 14.5 volts when the engine is running. This range ensures the battery is charging properly without being overcharged, which can lead to damage.
Identifying Issues
If the voltage reading is below 13.5 volts, it may indicate that the alternator isn’t charging the battery adequately. This could be due to worn brushes, a faulty voltage regulator, or a slipping drive belt. Conversely, a reading above 14.5 volts suggests the alternator is overcharging, potentially damaging the battery and electrical components. This might result from a malfunctioning voltage regulator.
Consider the following checklist to pinpoint issues:
- Low Voltage: Check the alternator belt for slack or wear. Inspect the connections for corrosion or looseness.
- High Voltage: Look into the voltage regulator or potential wiring faults.
- Fluctuating Voltage: This may indicate intermittent issues such as poor wiring connections or an alternator on the verge of failure.
Tip: Always ensure your multimeter is set to measure DC voltage and that the connections are secure for accurate readings.
Troubleshooting Common Problems
Low Output Issues
If your alternator is producing low voltage, the meter will show a reading below 13.5 volts. Here are steps to address this:
- Check the Belt: Ensure the alternator belt is not loose or worn out. A loose belt can cause slippage, leading to inadequate alternator output.
- Inspect Connections: Examine battery terminals and alternator wiring for corrosion or loose connections. Clean and tighten as needed.
- Test the Battery: A weak battery can cause low alternator readings. Use a meter to check the battery voltage. It should be around 12.6 volts when fully charged.
Tip: Always turn off the engine when checking connections to avoid any electrical hazards.
High Output Issues
If the alternator is overcharging, the meter will display a voltage above 14.7 volts. Address this by:
- Check the Voltage Regulator: A faulty regulator can cause excessive voltage output. Replace it if necessary.
- Inspect Grounding: Ensure the alternator’s grounding is secure. A poor ground can cause erratic voltage readings.
- Examine the Alternator’s Internal Components: Overcharging can result from internal faults. Consider professional inspection or replacement.
Tip: High output can damage electrical components, so address it promptly to avoid costly repairs.
These steps should help in diagnosing and resolving common alternator problems detected during a meter test. If issues persist, consulting an automotive professional is advisable for further diagnosis and repair.
When to Consult a Professional
Complex Issues
If during your alternator check, the meter readings are inconsistent or show unexpected values, it may indicate more complex electrical problems. For example, if the voltage fluctuates significantly without a clear reason, there might be issues beyond the alternator, such as with the vehicle’s wiring or other components in the charging system. These situations often require the expertise of a professional technician who can accurately diagnose and address the underlying problem.
Safety Concerns
Working with a car’s electrical system can pose safety risks, especially if you’re not familiar with handling such tasks. If you’re uneasy about using a multimeter or are unsure about the safety procedures involved, it’s best to consult a professional. Additionally, if you suspect there’s a risk of electrical shock or short circuits while testing, it’s crucial to seek help from a trained technician. They have the skills and equipment to manage these risks effectively.
Remember, while DIY projects can be rewarding, knowing when to seek professional help can save you time, money, and ensure your safety.
Quick Summary
- Check your vehicle’s alternator using a multimeter to ensure it’s functioning properly and maintaining battery health.
- Set the multimeter to the DC voltage setting and connect the probes correctly: the red probe to the positive terminal and the black probe to the negative terminal of the battery.
- Start the engine and observe the voltage reading; a healthy alternator should produce a voltage between 13.8 and 14.4 volts.
- If the voltage is below 13.8 volts, the alternator may not be charging the battery properly, indicating a potential issue.
- Test the alternator under load by turning on high-load accessories like headlights and the air conditioner, then check if the voltage remains stable.
- If the multimeter shows a voltage drop below 13 volts under load, it could signal that the alternator is weak or failing.
- Consult a professional if you encounter any inconsistencies or if the alternator requires replacement to avoid further vehicle electrical issues.
Frequently Asked Questions
How do I set my multimeter to check the alternator?
Set your multimeter to measure DC voltage. You’ll need to check the voltage at the battery terminals with the engine off and then again with the engine running.
What voltage should I expect from a healthy alternator?
A healthy alternator should produce between 13.5 and 14.5 volts when the engine is running. If the voltage is lower, the alternator may not be charging the battery properly.
Can I test the alternator with the engine off?
Testing the alternator with the engine off will only show the battery’s current charge. To test the alternator’s effectiveness, you need to measure the voltage with the engine running.
What are signs that my alternator might be failing?
Signs include dimming headlights, a dead battery, or warning lights on the dashboard. If you experience these, checking the alternator should be a priority.
Is it safe to test the alternator myself?
Yes, it’s safe as long as you follow the proper procedures and handle the multimeter correctly. Ensure the vehicle is in park and the engine bay is clear of hazards.
- Find the Right Engine Oil for Your Car: A Quick Guide - March 1, 2026
- Car Battery Booster Basics: Start Your Vehicle in Minutes - March 1, 2026
- How Long Does It Take To Charge A Motorcycle Battery Charging Time Guide - February 28, 2026