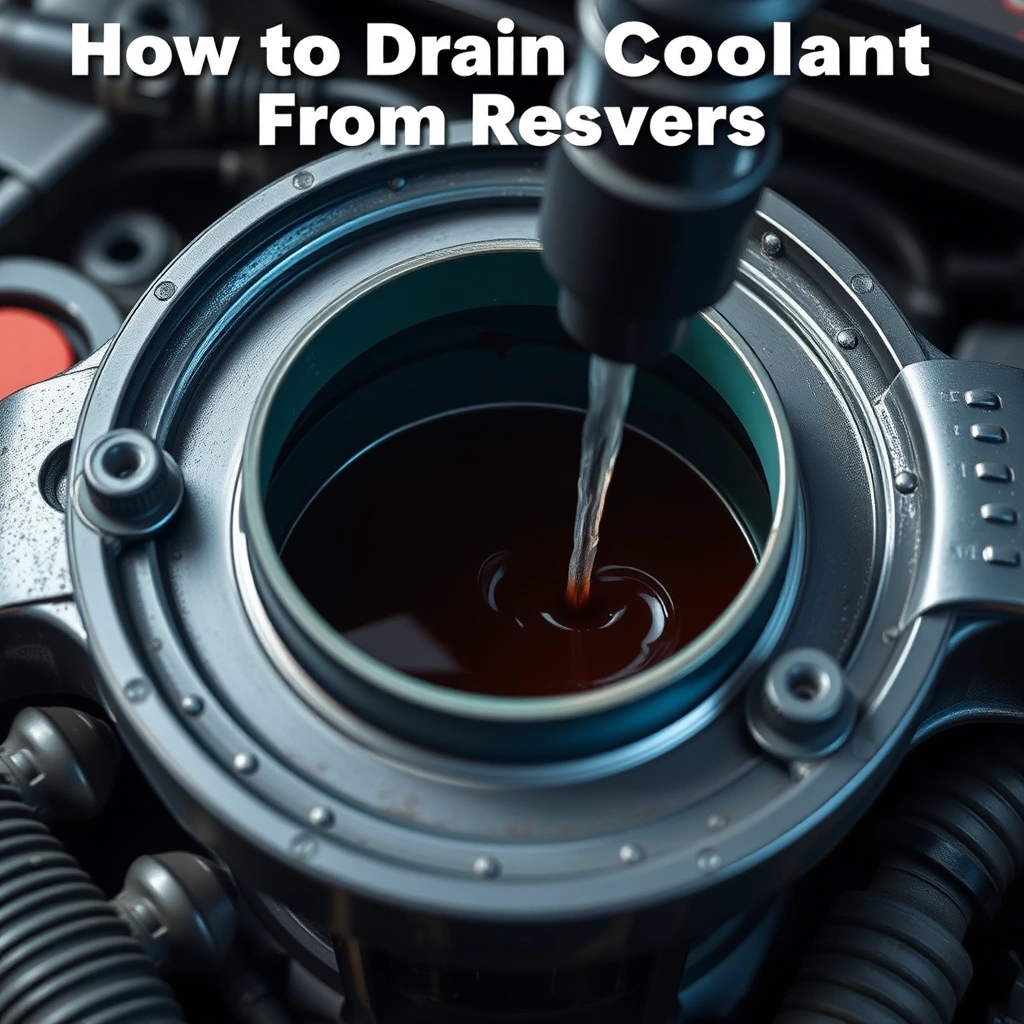
How To Drain Coolant From Reservoir A Step-by-step Diy Guide
Thinking of giving your car some well-deserved maintenance? Draining the coolant from the reservoir is a straightforward task that can enhance your vehicle’s performance and longevity.
To drain coolant, ensure the engine is cool, open the reservoir cap, and use a suitable container to catch the fluid.
Understanding the Coolant System

Purpose of Coolant
The coolant in your vehicle serves a vital role in temperature regulation. Its primary function is to absorb heat from the engine, effectively preventing overheating. By circulating through the engine and radiator, it dissipates heat, ensuring optimal performance and longevity of engine components. Additionally, coolant offers protection against corrosion and helps maintain a stable operating temperature in various weather conditions.
Components of the Coolant System
The coolant system comprises several key components, each playing a specific role:
- Radiator: Acts as a heat exchanger, releasing heat from coolant to the outside air.
- Water Pump: Circulates coolant through the engine and radiator.
- Thermostat: Regulates coolant flow based on engine temperature.
- Coolant Reservoir: Stores excess coolant and provides a space for expansion as the coolant heats up.
Tip: Regularly check coolant levels in the reservoir to avoid low coolant issues, which can lead to engine overheating.
When to Drain the Coolant Reservoir
Signs of Coolant Issues
Draining your coolant reservoir is necessary when certain signs indicate potential problems. Keep an eye out for the following:
- Overheating: If your vehicle’s temperature gauge frequently shows high readings, it might be time to check the coolant.
- Leaking Coolant: Puddles of green, orange, or pink fluid under your car can indicate a leak.
- Sweet Smell: A distinct sweet odor inside or outside the car often signals a coolant leak.
- Low Coolant Levels: Regularly check the coolant level in the reservoir. If it’s consistently low, inspect for leaks.
Recommended Maintenance Schedule
Regular maintenance is key to preventing issues. Follow these guidelines for draining and replacing the coolant:
- Every Two Years or 30,000 Miles: Most manufacturers recommend replacing the coolant every two years or 30,000 miles, whichever comes first.
- Check Owner’s Manual: Always refer to your vehicle’s manual for specific intervals as recommendations can vary.
- Regular Inspections: During routine oil changes or other maintenance, ask your technician to inspect the coolant system.
Tip: Always allow the engine to cool before draining the coolant to avoid injury from hot fluids.
Gathering Necessary Tools and Materials
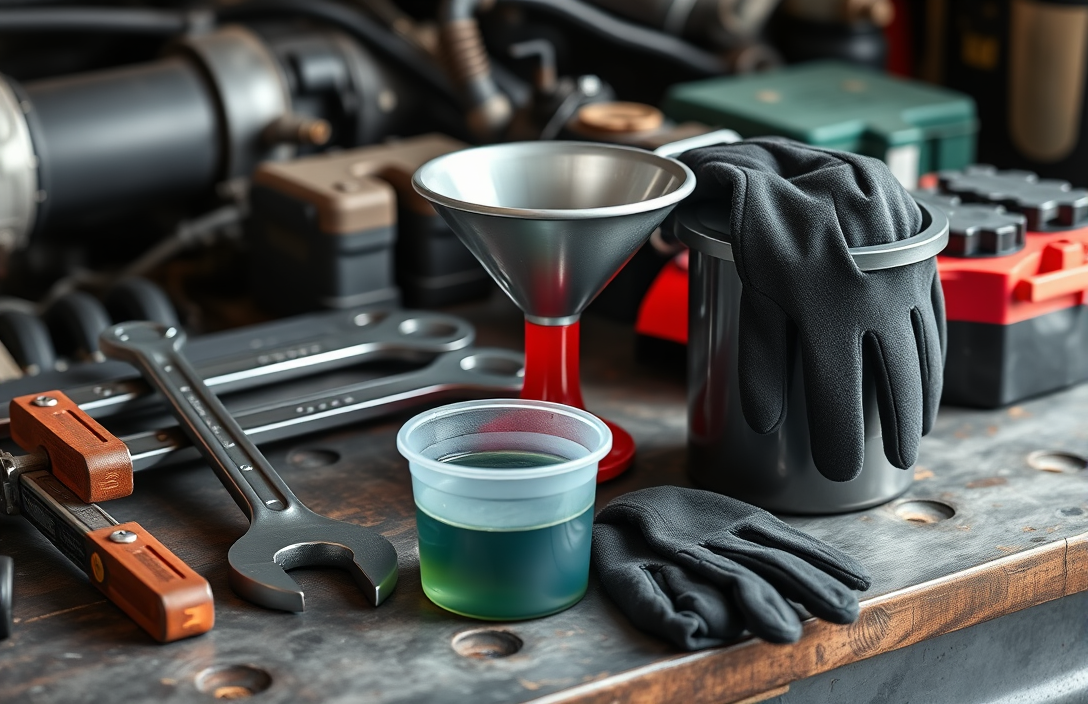
Essential Tools
Draining the coolant from your vehicle’s reservoir requires a few basic tools to ensure the process goes smoothly:
- Wrench Set: A good set of wrenches will be needed to loosen any clamps or fasteners that may hold the reservoir or hoses in place.
- Funnel: This will help in pouring new coolant back into the reservoir without spilling.
- Socket Set: Useful for removing any bolts or screws that might be securing the reservoir.
- Pliers: Handy for removing hose clamps if they are difficult to reach.
Safety Gear
Safety should always be a priority. Here’s what you need:
- Gloves: Use chemical-resistant gloves to protect your skin from coolant, which can be irritating.
- Goggles: Eye protection is crucial to prevent any accidental splashes from getting into your eyes.
Disposal Container
Proper disposal of old coolant is important for environmental safety:
- Drain Pan: Use a large drain pan to catch the old coolant as it drains out.
- Sealable Container: Once drained, transfer the coolant into a sealable container for safe transport to a recycling center.
Tip: Always check your vehicle manual for any specific tools or steps recommended for your car model.
Preparing the Vehicle
Ensuring the Engine is Cool
Before you begin, ensure the vehicle is parked on a level surface and the engine is completely cool. This is important to prevent burns or injuries, as coolant can be extremely hot when the engine has been running. A good rule of thumb is to wait at least 30 minutes after turning off the engine.
Locating the Coolant Reservoir
Open the hood and locate the coolant reservoir. This is usually a translucent plastic tank with a cap labeled ‘coolant’ or ‘engine coolant.’ If you’re having trouble finding it, refer to your vehicle’s owner’s manual. The reservoir is typically situated near the radiator, but its exact location can vary depending on the make and model of your vehicle.
Once you’ve found the reservoir, check the coolant level to make sure there’s enough to drain. Most reservoirs have minimum and maximum markers on the side. If the coolant is below the minimum line, there may not be enough to drain effectively, and you may need to top it up first.
Tip: Make sure you have a container ready to catch the drained coolant, as it should not be allowed to spill onto the ground.
Draining the Coolant

Opening the Reservoir Cap
Before beginning the draining process, ensure the engine is completely cool to avoid any risk of burns from hot coolant. Locate the coolant reservoir, which is usually a translucent tank near the radiator. Gently twist the cap counterclockwise to open it. If your car has a pressurized system, press down slightly while turning the cap to release any residual pressure safely.
Draining Procedure
Position a catch pan or container beneath the reservoir to collect the coolant. Many reservoirs have a drain plug at the bottom. If yours does, remove it carefully, allowing the coolant to flow out into the pan. If there’s no drain plug, you might need to detach the lower hose from the reservoir to let the coolant drain.
- Ensure the catch pan is large enough to hold the entire volume of coolant.
- Check the coolant color – it should be a consistent green, orange, or pink depending on the type. Any discoloration could indicate contamination.
Handling Spills
Spilled coolant is toxic to pets and children, so clean any spills immediately with a rag or absorbent material. Dispose of the used coolant at a local recycling facility or an auto parts store that accepts hazardous waste.
Tip: Always wear gloves and safety goggles to protect yourself from spills and splashes.
Inspecting and Cleaning the Reservoir
Once the coolant is successfully drained from the reservoir, it’s time to inspect and clean the reservoir to ensure your cooling system remains efficient and free from contaminants.
Checking for Residues
Begin by examining the inside of the reservoir for any residues. Coolant can sometimes leave behind sediments or deposits that might affect the performance of the cooling system.
- Visual Inspection: Look for any discoloration or build-up on the walls of the reservoir.
- Feel for Grit: Gently run your finger along the inside to detect any gritty texture.
Cleaning Techniques
Once inspected, clean the reservoir thoroughly to remove any residues. Here’s a simple method:
- Rinse with Water: Use warm water to rinse the inside of the reservoir. Avoid using high-pressure water as it might damage the plastic.
- Soap Solution: Mix a small amount of mild dish soap with water, and use a soft brush to scrub the inside. This helps in breaking down any stubborn deposits.
- Final Rinse: Rinse again with clean water to remove soap residues. Ensure all cleaning agents are thoroughly washed out to prevent contamination of new coolant.
Tip: If the reservoir is heavily stained or has stubborn residues, consider using a specialty cleaner designed for automotive use, but ensure it is compatible with your vehicle’s materials.
Once clean, allow the reservoir to air dry completely before refilling it with new coolant. This will help avoid any dilution or contamination of the new coolant.
Refilling with New Coolant
Choosing the Right Coolant
Before refilling, ensure you have the correct coolant for your vehicle. Check your owner’s manual for the specific type recommended. Using the wrong type can affect engine performance and cause damage.
Refill Process
Start by securing the vehicle on a flat surface and ensuring the engine is cool. Open the hood and locate the coolant reservoir. Remove the cap carefully.
- Prepare the Coolant: Mix the coolant with distilled water if required, typically in a 50:50 ratio, unless it is pre-mixed.
- Pour Slowly: Pour the new coolant into the reservoir slowly, watching the fill line to avoid overfilling. A funnel can help prevent spills.
Replace the cap securely once filled. Double-check for any leaks around the reservoir and hoses.
Bleeding the System
Trapped air can cause the engine to overheat. Bleeding the system ensures all air is removed:
- Start the engine and let it idle with the heater on high. This helps circulate coolant and release air bubbles.
- Watch the temperature gauge to ensure the engine does not overheat.
- Check the coolant level again after the engine has cooled, topping off if necessary.
Always dispose of old coolant responsibly, as it is hazardous to the environment. Follow local regulations for disposal.
Final Checks and Testing
Checking for Leaks
After refilling the coolant reservoir, it’s essential to ensure there are no leaks in the system. Start by visually inspecting the area around the reservoir and the hoses connected to it. Look for any signs of moisture or drips.
- Turn on the engine and let it reach operating temperature. This will help pressurize the system and make any leaks more noticeable.
- Check underneath the car for any puddles forming. A cardboard sheet can be placed under the vehicle for easier detection.
Tip: Use a flashlight to inspect hard-to-see areas around the engine and hoses.
Testing the Engine
With the engine running, listen for any unusual sounds that might indicate a problem such as air trapped in the cooling system. A hissing noise could indicate a leak or a pressure issue.
- Ensure the heater is turned on. This helps circulate the new coolant through the entire system, including the heater core.
- Monitor the temperature gauge on the dashboard. It should stay within the normal range. If it rises too high, stop the engine immediately.
Coolant Level Verification
Once the engine has cooled down, check the coolant level in the reservoir again. It may have dropped slightly as air pockets in the system are purged and replaced by coolant.
- If necessary, add more coolant to reach the “Full” mark on the reservoir.
- Ensure the reservoir cap is securely tightened.
Tip: Regularly check the coolant level over the next few days to ensure it remains stable.
Quick Summary
- Ensure the engine is completely cooled down before starting the process to avoid any burns or injuries.
- Locate the coolant reservoir, which is usually a transparent plastic tank with a cap labeled ‘coolant’ or ‘antifreeze’.
- Position a drain pan under the reservoir to catch any fluid that is drained.
- Remove the cap from the coolant reservoir slowly to release any built-up pressure.
- Use a siphon pump or turkey baster to remove the coolant from the reservoir, being careful not to spill.
- Dispose of the old coolant safely, following local regulations for hazardous waste.
- After draining, refill the reservoir with the appropriate type of new coolant for your vehicle.
Frequently Asked Questions
What tools do I need to drain the coolant from the reservoir?
You’ll need a wrench to remove any clamps, a drain pan to catch the coolant, and possibly a funnel for refilling. Always have gloves and safety goggles to protect yourself.
How do I know when it’s necessary to drain the coolant from the reservoir?
You should drain the coolant if it appears dirty or if your vehicle’s maintenance schedule indicates it’s time for a coolant change. Also, if you’re experiencing overheating, a coolant flush might be required.
Can I drain the coolant from the reservoir without jacking up my car?
Yes, you can drain the coolant from the reservoir without jacking up the car, as the reservoir is usually accessible from the engine bay. However, ensure the vehicle is on a level surface for safety.
What should I do with the old coolant after draining it?
Collect the old coolant in a container and take it to a local recycling center or an auto shop that accepts hazardous waste. Avoid disposing of it in household drains or on the ground.
Is it necessary to flush the system after draining the coolant from the reservoir?
Flushing the system is recommended if the coolant is contaminated or if you’re replacing it with a different type. This ensures your cooling system is clean and operates efficiently.
- Find the Right Engine Oil for Your Car: A Quick Guide - March 1, 2026
- Car Battery Booster Basics: Start Your Vehicle in Minutes - March 1, 2026
- How Long Does It Take To Charge A Motorcycle Battery Charging Time Guide - February 28, 2026