How To Flush Transmission Fluid Step-by-step Diy Instructions
Ready to get your hands dirty and give your vehicle some TLC? Flushing the transmission fluid is a task that might seem daunting, but with a little guidance, you’ll be able to handle it like a pro and keep your car running smoothly.
Flushing transmission fluid involves removing old fluid and replacing it with new. This process helps maintain optimal performance, reduces wear and tear, and increases the lifespan of your transmission. With a few tools and some patience, you can accomplish this and keep your vehicle in top shape.
Understanding Transmission Fluid

Purpose of Transmission Fluid
Transmission fluid is essential for the smooth operation of your vehicle’s transmission system. It serves several purposes, including:
- Lubrication: Reduces friction between moving parts, preventing wear and tear.
- Cooling: Helps dissipate heat generated by the transmission, keeping it from overheating.
- Hydraulic Pressure: Powers the hydraulic functions necessary for gear shifts.
- Cleaning: Contains detergents that help keep the transmission clean by removing debris and contaminants.
Types of Transmission Fluid
Choosing the right type of transmission fluid is crucial for maintaining your vehicle’s performance. Here are the main types:
- Automatic Transmission Fluid (ATF): Used in vehicles with automatic transmissions, it supports smooth gear shifts and cooling.
- Manual Transmission Fluid: Typically thicker than ATF, it’s used in manual transmissions to provide lubrication.
- Synthetic Fluid: Offers higher performance and longer life than traditional fluids, suitable for heavy-duty or high-performance vehicles.
- Continuously Variable Transmission (CVT) Fluid: Specially formulated for CVT systems, which require different lubrication properties.
Tools and Materials Required
To successfully flush your car’s transmission fluid, you’ll need a selection of tools and materials to ensure a smooth process. Here’s what you’ll require:
- Socket set or wrench: To remove the drain plug and any covers needed to access the transmission pan.
- Drain pan: A large container to catch the old transmission fluid as it drains out.
- Funnel: Essential for adding new transmission fluid without spills.
- Transmission fluid: Check your vehicle’s manual for the specific type and amount of fluid required.
- New transmission filter (if applicable): Some vehicles require a new filter when flushing the fluid.
- Gasket or sealant: To replace the old gasket on the transmission pan if needed.
- Rags or paper towels: Useful for cleaning up any spills or drips.
- Jack and jack stands: To safely elevate your vehicle for easy access to the transmission.
- Gloves and safety glasses: Protective gear to keep your hands and eyes safe from fluid and debris.
Tip: Always double-check the specific requirements for your vehicle model to ensure you have all necessary items before starting the flush.
Safety Precautions

Personal Safety Gear
When flushing transmission fluid, wear appropriate safety gear to protect yourself from potential hazards. Consider the following:
- Gloves: Wear chemical-resistant gloves to protect your hands from hot fluids and chemicals.
- Eye Protection: Use safety goggles to shield your eyes from splashes.
- Clothing: Wear long sleeves and pants to minimize skin exposure.
Vehicle Safety Measures
Ensure your vehicle is secure and stable during the process. Follow these precautions:
- Parking Brake: Engage the parking brake to prevent the vehicle from rolling.
- Jack Stands: If lifting the car, use jack stands to safely support it. Never rely solely on a jack.
- Engine Cool Down: Allow the engine to cool before starting to avoid burns from hot components.
- Ventilation: Work in a well-ventilated area to avoid inhaling fumes.
Tip: Always keep a fire extinguisher nearby when working with automotive fluids.
Locating the Transmission System
Flushing your car’s transmission fluid requires you to first locate the transmission system. This section will guide you through identifying key components, ensuring you don’t miss any steps in the process.
Identifying the Transmission Pan
The transmission pan is typically located at the bottom of your vehicle’s transmission. It is a flat, rectangular metal cover, often with visible bolts securing it to the transmission.
- Check the Owner’s Manual: Your vehicle’s manual should provide a diagram of the transmission system, highlighting the pan’s location.
- Visual Inspection: With the vehicle safely elevated, look underneath to spot a flat, metallic surface. It’s usually the lowest point of the transmission.
- Pan Shape and Size: Most pans are rectangular, but some vehicles may have square or circular designs. The size can vary depending on your car model.
Finding the Drain Plug
The drain plug is essential for draining old transmission fluid. It is usually located on the transmission pan or the side of the transmission case.
- Look Underneath: Once you’ve identified the pan, search for a small bolt-like component on the pan’s underside or side.
- Check for a Hex Shape: The plug often has a hexagonal shape, designed for easy wrench access.
- Refer to Manual: If you’re having difficulty, the vehicle manual can pinpoint the drain plug’s exact location.
Tip: Ensure your vehicle is on a stable and elevated surface before inspecting underneath to prevent accidents.
Draining the Old Transmission Fluid

Draining the old transmission fluid is a straightforward process if approached with care. Follow these steps to ensure a smooth and efficient fluid change.
Removing the Drain Plug
Start by safely lifting your vehicle using a jack and secure it with jack stands. Locate the transmission fluid drain plug, typically found at the bottom of the transmission pan. Use a wrench to loosen the plug, turning it counterclockwise. Be prepared for the fluid to start draining as soon as the plug is loosened.
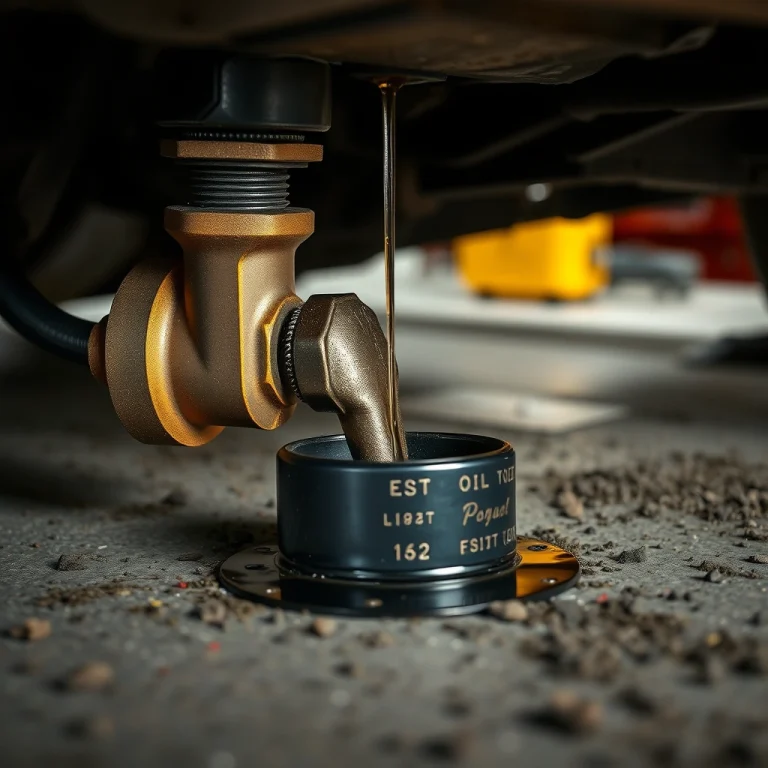
Collecting Old Fluid
Position a drain pan directly beneath the drain plug to catch the old fluid. Allow the fluid to drain completely, which could take several minutes. It’s important to ensure all the old fluid is collected to prevent spills and environmental harm.
Once the fluid has stopped draining, replace the drain plug by screwing it back in clockwise until it’s snug. Avoid over-tightening to prevent damage to the plug or transmission pan.
Tip: Use a wide, shallow pan to catch more fluid and reduce the chance of spills.
Properly disposing of the old transmission fluid is crucial. Take the collected fluid to a local recycling center or automotive shop that handles hazardous waste. Never pour it down the drain or into the ground.
Flushing the Transmission System
Using a Flush Machine
Flushing the transmission system with a flush machine is a straightforward method that ensures thorough cleaning. Here’s how you can do it:
- Connect the Machine: Attach the flush machine’s hoses to the transmission cooler lines. These lines are usually found near the radiator.
- Start the Engine: Turn on your vehicle’s engine to let the transmission fluid circulate. This helps the machine remove the old fluid effectively.
- Monitor the Process: Watch the machine as it replaces the old fluid with new one. The machine will cycle the new fluid through the system until all old fluid is expelled.
- Check Fluid Levels: Once the flushing process is complete, check the transmission fluid level and top off if necessary.
Manual Flushing Methods
If a flush machine isn’t available, you can manually flush the transmission system:
- Drain the Fluid: Place a drain pan under the transmission pan and remove the drain plug to let the old fluid out.
- Remove the Pan: Take off the transmission pan and replace the filter. Clean the pan thoroughly before reattaching.
- Refill with New Fluid: Add new transmission fluid through the dipstick tube using a funnel. Make sure to use the type recommended for your vehicle.
- Cycle the Fluid: Start the engine and shift through all gears to circulate the new fluid. This helps remove any remaining old fluid.
- Repeat as Needed: Drain and refill again if the fluid appears dirty after cycling.
Tip: Always consult your vehicle’s manual for specific instructions and recommended fluid type.
Refilling with New Transmission Fluid
Selecting the Right Fluid
Before refilling your transmission, ensure you have the correct type of fluid for your vehicle. Check your owner’s manual or the manufacturer’s website for specifications. Using the wrong fluid can lead to shifting problems and damage.
Filling Procedure
Now that you are ready to refill the transmission, follow these steps:
- Make sure the vehicle is on a level surface and the engine is turned off.
- Locate the transmission fluid dipstick – usually found near the back of the engine bay. Remove it and set it aside.
- Using a funnel, slowly add the new transmission fluid into the dipstick tube. Pour a little at a time to avoid overfilling.
- Start the engine and let it idle. Shift through each gear briefly to circulate the new fluid throughout the system.
- With the engine running, check the fluid level using the dipstick. Add more fluid if necessary, but be careful not to exceed the recommended level.
- Once satisfied with the fluid level, replace the dipstick securely.
Tip: Always dispose of old transmission fluid responsibly. Many auto parts stores offer recycling services.
Checking for Leaks and Final Inspection
Inspecting for Leaks
Once you have completed the transmission fluid flush, it’s essential to check for any leaks. Begin by inspecting the area around the transmission pan and the fluid lines. Look for any signs of fresh fluid, which may indicate a leak.
- Transmission Pan: Ensure the pan bolts are properly tightened and the gasket is correctly seated.
- Fluid Lines: Inspect the connections for any signs of leakage or damage.
If you notice any leaks, tighten the affected areas carefully. If leaking persists, consider replacing faulty gaskets or seals.
Test Driving the Vehicle
After ensuring there are no leaks, take the vehicle for a short test drive. During the drive, pay attention to how the transmission shifts. It should be smooth and without delay.
Tip: Drive the car in various conditions – highway and city driving – to thoroughly assess transmission performance.
- Shifting: Observe if the transmission shifts smoothly through all gears.
- Noises: Listen for any unusual noises or vibrations, which might indicate an issue.
After the test drive, park the car on a level surface and recheck the transmission fluid level. Add more fluid if necessary to ensure it is at the correct level.
Quick Summary
- Gather all necessary materials: transmission fluid compatible with your vehicle, a funnel, a catch pan, socket wrench, and safety gear.
- Park the vehicle on a level surface and ensure it’s securely lifted with jack stands for easy access to the transmission pan.
- Locate the transmission pan under the vehicle; remove the drain plug with a socket wrench to allow old fluid to drain completely into the catch pan.
- Replace the drain plug securely after all fluid has drained, and remove the transmission pan to clean or replace the filter if necessary.
- Reattach the transmission pan securely and use a funnel to refill the transmission with new fluid through the dipstick tube, ensuring the correct amount specified by the vehicle’s manual.
- Run the engine and shift through all gears to circulate the new fluid, checking the fluid level and adding more if needed to reach the appropriate level.
- Dispose of old transmission fluid responsibly by taking it to a recycling center or automotive shop that accepts hazardous waste.
Frequently Asked Questions
Why is it necessary to flush transmission fluid?
Flushing transmission fluid helps remove old, contaminated fluid that can affect the performance and longevity of your transmission. Regular flushing ensures smoother gear shifts and reduces the risk of transmission failure.
How often should transmission fluid be flushed?
Most manufacturers recommend flushing transmission fluid every 30,000 to 60,000 miles. However, check your vehicle’s manual for specific guidance as it can vary based on the model and driving conditions.
Can I flush transmission fluid myself at home?
Yes, you can flush transmission fluid at home with the right tools and knowledge. It’s important to follow the correct procedure and ensure you have the necessary equipment, such as a jack, drain pan, and new fluid.
What tools are needed to perform a transmission fluid flush?
You’ll need a jack to lift your vehicle, a drain pan to catch old fluid, new transmission fluid, and possibly a wrench or socket set to remove the drain plug. Safety equipment like gloves and goggles is also recommended.
What are the signs that my vehicle needs a transmission fluid flush?
Signs include delayed or hard shifting, unusual noises from the transmission, and the transmission slipping. If you notice these symptoms, consider checking the fluid level and condition, and plan for a flush if needed.
- Find the Right Engine Oil for Your Car: A Quick Guide - March 1, 2026
- Car Battery Booster Basics: Start Your Vehicle in Minutes - March 1, 2026
- How Long Does It Take To Charge A Motorcycle Battery Charging Time Guide - February 28, 2026