How To Jump Start A Car Easy For Beginners
Car trouble isn’t just an inconvenience – it can be a nerve-wracking experience, especially when your car won’t start. If you’ve found yourself in this situation, worry not; help is at hand.
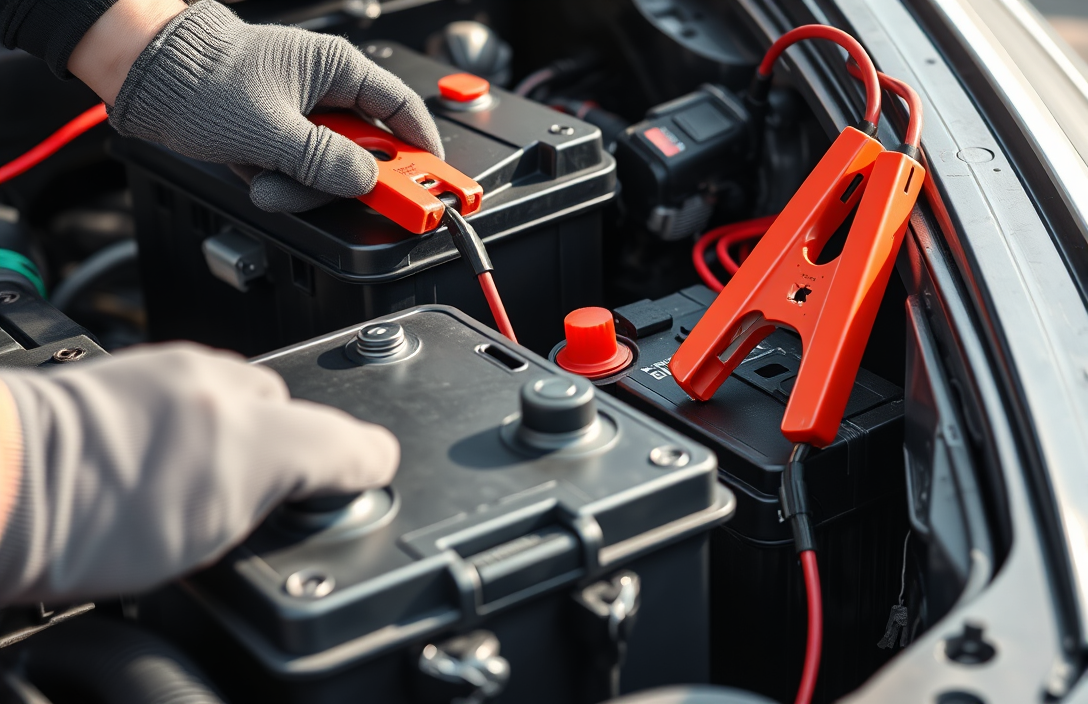
To jump start a car, you’ll need jumper cables and a working vehicle. Connect the cables to the battery terminals correctly, start the assisting car, then your own.
Understanding Car Batteries
Battery Basics
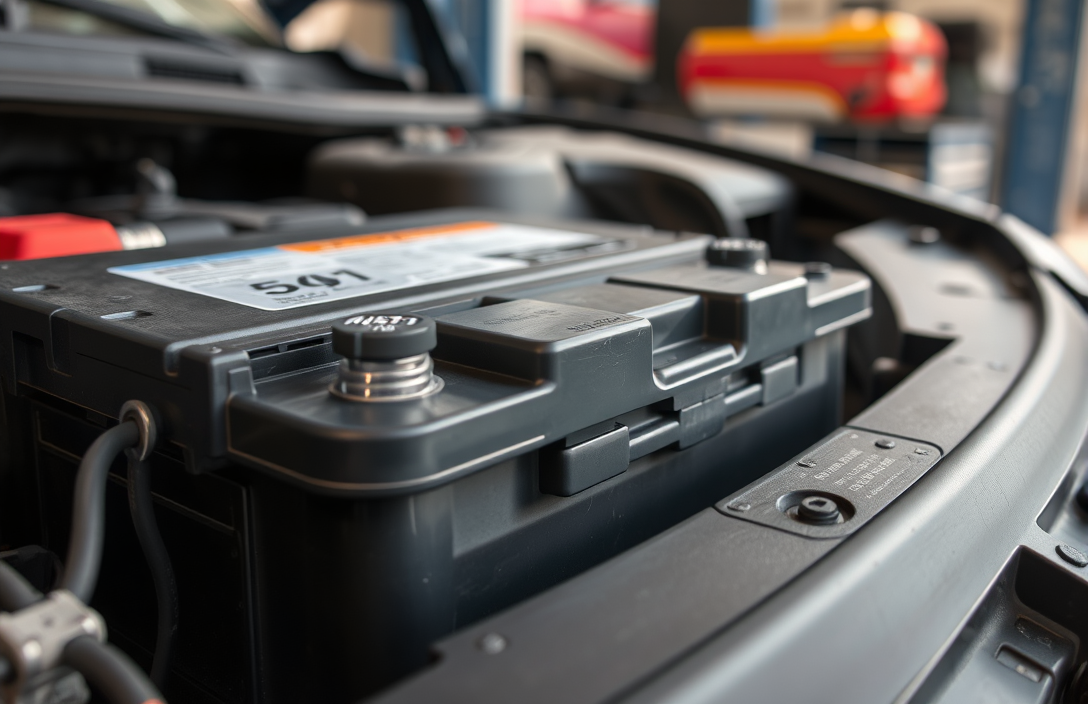
Car batteries are the heart of your vehicle’s electrical system, responsible for powering everything from the starter motor to the headlights. They store electrical energy in chemical form and release it as needed to start the engine and keep electronic systems running.
Signs of a Dead Battery
Recognizing the signs of a dead battery can save you a lot of frustration. Here are some indicators:
- Engine won’t start: You turn the key, and there’s only a click or nothing at all.
- Dim lights: Headlights or interior lights appear dimmer than usual.
- Electrical issues: Radio or power windows operate slowly or not at all.
- Warning light: The battery warning light on the dashboard is illuminated.
Being aware of these signs can help you determine if a jump start is necessary or if there’s another underlying issue. If you’re ever unsure, don’t hesitate to ask for help. Remember, every experienced driver started as a beginner, and learning is part of the process.
Gathering Necessary Tools
Jump-starting a car can feel a bit overwhelming at first, but having the right tools in place makes the process much smoother. Let’s focus on what you need to get started safely.
Jumper Cables
These are the most essential tools you’ll need. Look for cables that are at least 10-12 feet long to ensure they can comfortably reach between two vehicles. It’s also important to choose cables with a gauge rating between 4 and 6. A lower gauge number means thicker wires, which translates to better current flow.
Safety Gear
- Gloves: Protects your hands from dirt, grease, and any potential sparks.
- Safety glasses: Shields your eyes from unexpected sparks.
Tip: Always keep these safety items in your car to be prepared for any roadside situations.
Having these tools ready not only helps in jump-starting a car safely but also provides peace of mind while you handle the task. Remember, staying calm and prepared is part of the solution.
Safety Precautions
Avoiding Sparks
When dealing with car batteries, it’s essential to prevent any accidental sparks. Sparks can cause battery gases to ignite, which can be dangerous. Here’s how you can avoid them:
- Ensure both cars are turned off before connecting jumper cables.
- Connect the positive cable (usually red) to the positive terminal of the dead battery first, then to the positive terminal of the live battery.
- Attach the negative cable (usually black) to the negative terminal of the live battery.
- Connect the other end of the negative cable to an unpainted metal surface on the car with the dead battery, away from the battery itself.
This sequence helps prevent sparks near the battery, reducing the risk of an explosion.
Proper Ventilation
Car batteries can emit hydrogen gas, which is flammable. To ensure safety, work in a well-ventilated area:
- Open the car hoods fully to allow any gases to dissipate quickly.
- If you’re indoors, ensure there is adequate airflow, such as through open doors or windows.
Avoid smoking or any open flames near the vehicles during the jump-start process, as this can ignite any hydrogen gas present.
Tip: Always wear gloves and eye protection when handling car batteries to protect yourself from acid or sharp edges.
Positioning the Vehicles
Car Placement
Before you begin jump starting, the positioning of the cars is essential for a safe and successful process. Place the working vehicle and the vehicle with the dead battery close enough so that the jumper cables can easily reach both batteries. Typically, this means aligning the cars front to front or side by side. It’s important to leave some space between the vehicles to prevent any chance of an accidental bump or scratch.
Engine Off
Once the cars are in position, ensure both ignition switches are turned off. This step is vital in preventing any electrical issues or sparks when connecting the jumper cables. Double-check that the headlights and any other electrical devices are also turned off.
Tip: Engage the parking brakes on both vehicles to maintain stability and prevent any unintended movement.
Connecting the Jumper Cables

Positive Cable Connection
Let’s get started with the positive cable. This is the red one. You want to connect it to the positive terminal of the dead car’s battery first. The positive terminal is usually marked with a plus sign (+). Make sure the connection is snug and secure.
Next, take the other end of the positive cable and attach it to the positive terminal on the working car’s battery. Again, ensure a tight and secure connection. This step is crucial to establishing a safe and effective pathway for the electricity.
Negative Cable Connection
Now, grab the negative cable – the black one. Attach one end to the negative terminal of the working car’s battery. This terminal is marked with a minus sign (-). Check that it is firmly connected to avoid any sparks or loose connections.
The other end of the negative cable needs a little more attention. Instead of connecting it directly to the dead battery, find an unpainted metal surface in the engine compartment of the dead car, like a bolt or a metal bracket. This helps ground the car and reduces the risk of sparks near the battery. Make sure this connection is secure.
Tip: Double-check all connections before starting the engine. Loose cables can lead to ineffective charging or even damage.
With everything connected and secure, you’re ready for the next step in reviving your car.
Starting the Cars
Starting the Helper Car
Begin by ensuring both cars are off and safely parked. Connect the red positive cable clamp to the positive terminal of the dead car’s battery. Next, attach the other end of the red cable to the positive terminal of the helper car’s battery.
Now, connect the black negative cable to the negative terminal of the helper car’s battery. For the dead car, instead of connecting the black cable to the battery, attach it to an unpainted metal part of the car frame or engine block. This reduces the risk of sparks near the battery.
Start the engine of the helper car. Let it run for a few minutes to charge the dead battery. You might need to gently rev the engine of the helper car to increase the power flowing through the cables.
Starting the Dead Car
After a few minutes, attempt to start the dead car. Turn the key in the ignition. If it doesn’t start immediately, wait a few more minutes with the helper car running.
If the dead car starts, allow both cars to run for a few minutes to ensure the battery is sufficiently charged. If it doesn’t start after several attempts, the battery might need to be replaced.
Tip: Once the dead car starts, keep it running for at least 30 minutes or drive it around to recharge the battery.
Disconnect the cables in reverse order, starting with the black clamp on the dead car, then the black clamp on the helper car, followed by the red clamp on the helper car and finally the red clamp on the dead car.
Disconnecting the Cables
Order of Disconnection
First, make sure both cars are turned off. This reduces any risk of electrical shock or sparking. Begin by disconnecting the cables in reverse order of how you connected them:
- Black (-) cable from the previously dead car.
- Black (-) cable from the donor car.
- Red (+) cable from the donor car.
- Red (+) cable from the previously dead car.
Be careful to avoid letting the clamps touch each other or any metal part of the cars during this process.
Checking for Stability
Once the cables are disconnected, it’s time to see if your car holds a charge. Start your car and let it run for a few minutes. This allows the alternator to recharge the battery. Observe the dashboard for any warning lights that might indicate battery issues.
Tip: If your car stalls shortly after removing the cables, the battery might not be holding a charge, and you may need to replace it.
If everything seems stable, you can confidently take your car for a short drive. This will further charge the battery and ensure it’s ready for your next journey.
Post-Jump Start Maintenance
Driving to Recharge
After jump-starting your car, it’s important to help the battery regain its charge. A simple and effective way is to drive your car for at least 20 to 30 minutes. This allows the alternator to charge the battery. Make sure to drive at highway speeds if possible, as this can enhance the charging process.
Battery Health Check
Once you’ve given your battery some time to recharge, it’s wise to check its health. Here’s how you can do this:
- Inspect for Corrosion: Check the battery terminals for any corrosion buildup. If present, clean it carefully with a mixture of baking soda and water.
- Check the Voltage: Use a multimeter to measure the battery voltage. A fully charged battery should read around 12.6 volts or higher when the engine is off.
If the battery doesn’t hold a charge, consider getting it tested at an auto shop. They can assess its condition and suggest if a replacement is necessary.
Tip: Regularly driving your car and avoiding short trips can help maintain battery health. If you don’t drive often, consider using a battery maintainer to keep it charged.
Quick Summary
- Ensure both vehicles are turned off and parked close enough for jumper cables to reach.
- Identify the positive (+) and negative (-) terminals on both car batteries.
- Connect one end of the red jumper cable to the positive terminal of the dead battery and the other end to the positive terminal of the good battery.
- Attach the black jumper cable to the negative terminal of the good battery and the other end to an unpainted metal surface on the car with the dead battery.
- Start the engine of the vehicle with the good battery, then try to start the engine of the car with the dead battery.
- Once the car starts, remove the cables in reverse order: black from the metal surface, black from the good battery, red from the good battery, and finally red from the dead battery.
- Keep the recently started car running for at least 15-20 minutes to allow the battery to recharge.
Frequently Asked Questions
What tools do I need to jump start a car?
You’ll need a set of jumper cables and another vehicle with a fully charged battery. Make sure the vehicles are close enough for the cables to reach both batteries.
How do I connect the jumper cables correctly?
Connect the red cable to the positive terminal of the dead battery and then to the positive terminal of the live battery. Connect the black cable to the negative terminal of the live battery and then attach the other end to an unpainted metal surface on the car with the dead battery.
What should I do if my car doesn’t start after using jumper cables?
If your car doesn’t start, check the cable connections to ensure they’re secure. If it still won’t start, the battery might be too drained or there could be an issue with the car’s alternator.
Is there any safety precaution I should follow while jump starting a car?
Avoid letting the jumper cable clamps touch each other or any other metal surface. Always connect and disconnect the cables in the recommended sequence to prevent sparks.
How long should I keep the cables connected once my car starts?
Once your car starts, remove the cables in the reverse order of attachment. Keep the engine running for at least 15 to 20 minutes to allow the alternator to recharge the battery.
- Find the Right Engine Oil for Your Car: A Quick Guide - March 1, 2026
- Car Battery Booster Basics: Start Your Vehicle in Minutes - March 1, 2026
- How Long Does It Take To Charge A Motorcycle Battery Charging Time Guide - February 28, 2026