How To Replace Trailer Bearings A Step-by-step Diy Guide
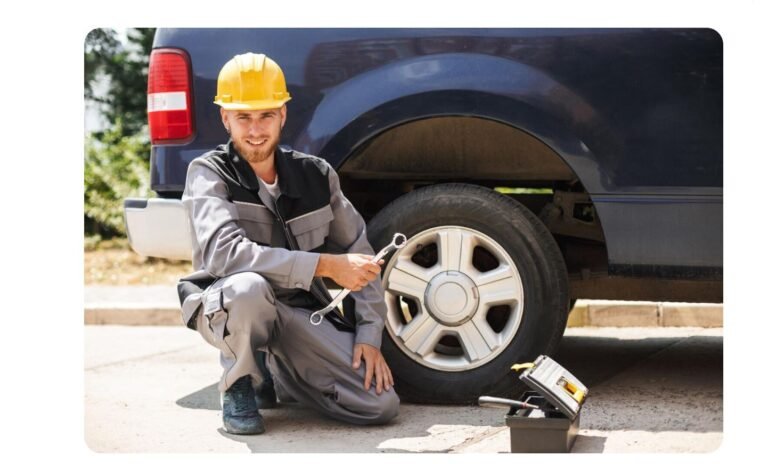
Changing trailer bearings might seem daunting, but with a bit of patience and the right approach, it’s a manageable task. Having a well-functioning trailer is crucial for safe and smooth towing, and ensuring your bearings are in good shape is an essential part of maintenance.
Key steps include gathering necessary tools, removing the wheel and hub, extracting the old bearings, inspecting for damage, and fitting new bearings securely. This process helps prevent breakdowns and ensures your trailer is road-ready.
Understanding Trailer Bearings
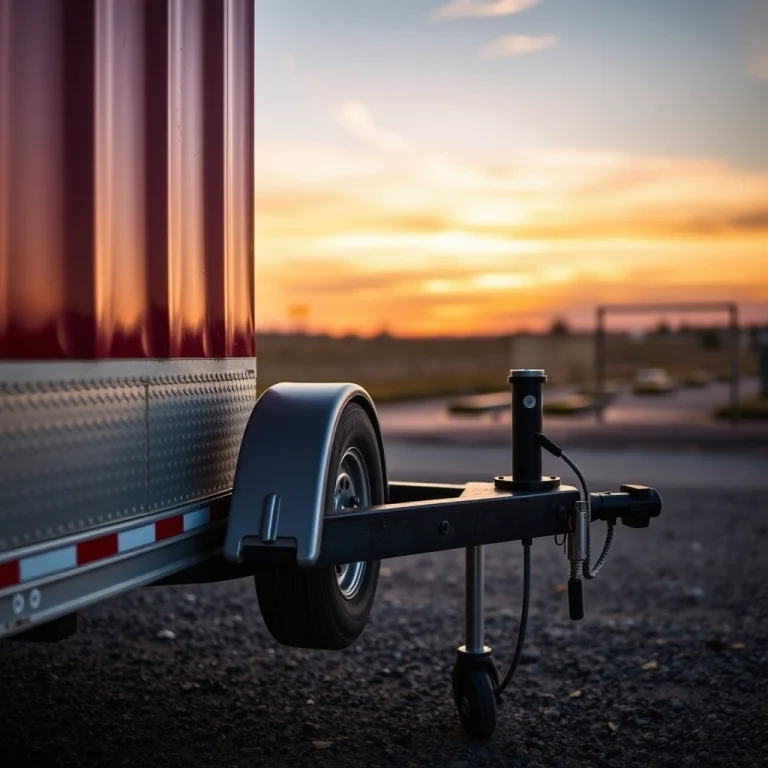
Trailer bearings are essential components that allow the wheels of your trailer to spin smoothly. They reduce friction and support the weight of the trailer, ensuring safe and efficient transport. Understanding these components is the first step in maintaining or replacing them.
Types of Trailer Bearings
There are typically two main types of trailer bearings:
- Tapered Roller Bearings: These are the most common type and are typically used for high-load applications. They consist of an inner and outer ring with tapered rollers, providing excellent support for radial and axial loads.
- Ball Bearings: These are usually found in lighter trailers. They consist of balls within an inner and outer ring, making them suitable for lower-load applications.
Signs of Worn Bearings
Recognizing when trailer bearings need replacement is crucial for safety and performance. Look out for these signs:
- Noise: A grinding or squealing sound while driving can indicate worn bearings.
- Vibration: Excessive vibration or wobbling of the trailer can suggest bearing issues.
- Heat: After a short drive, if the hub is unusually hot to the touch, it may be due to bad bearings.
- Visual Wear: Inspect for rust, pitting, or scoring on the bearings during routine maintenance.
If any of these signs are present, it’s time to replace the bearings to prevent further damage or potential accidents.
Tools and Materials Needed
Essential Tools
Replacing trailer bearings requires a few specific tools to ensure the job is done correctly and safely. Here’s what you’ll need:
- Socket Set: A socket set with various sizes to remove and install the wheel nuts and other components.
- Torque Wrench: Essential for tightening the nuts to the manufacturer’s specified torque.
- Jack and Jack Stands: A hydraulic jack to lift the trailer and jack stands to securely hold it in place.
- Hammer and Punch: To remove the old bearings and races.
- Grease Gun: For applying grease to the new bearings.
- Screwdriver: Useful for removing any dust caps or seals.
- Needle Nose Pliers: Handy for removing cotter pins.
Recommended Materials
Alongside the tools, certain materials are necessary to complete the bearing replacement:
- Replacement Bearings: Ensure they match your trailer’s specifications.
- Grease: High-temperature wheel-bearing grease is recommended.
- Seals: New seals to replace the old ones during reassembly.
- Rags: To clean components and wipe away old grease.
- Safety Gear: Gloves and safety glasses to protect your hands and eyes.
Tip: Always have a spare set of bearings on hand in case of emergency repairs during trips.
Preparing Your Trailer
Safety Precautions
Before you start replacing trailer bearings, it’s essential to ensure safety is your top priority. Begin by parking your trailer on a flat, stable surface. Engage the trailer’s brakes and chock the wheels to prevent any unexpected movement. Wearing safety glasses and gloves can protect you from debris and sharp edges.
Keep a fire extinguisher nearby, especially if you plan to use any power tools during the process. Ensure that your workspace is well-lit, as this will help in identifying any issues with the bearings or other components.
Lifting the Trailer
To gain access to the bearings, you’ll need to lift the trailer. Start by loosening the lug nuts on the wheel you plan to work on, but do not remove them completely. Place a hydraulic jack under the trailer’s frame, ensuring it’s positioned correctly to support the weight. Slowly lift the trailer until the wheel is off the ground.
Tip: Use jack stands to secure the trailer in place once it’s lifted. Never rely solely on the jack, as it can fail unexpectedly. Position the stands under the frame, away from any moving parts.
After securing the trailer, remove the lug nuts entirely and take off the wheel. This gives you clear access to the hub and bearings.
By following these steps, you can prepare your trailer safely and effectively for bearing replacement.
Removing Old Bearings
Removing the Wheel
Start by stabilizing the trailer on a flat surface. Use wheel chocks on the opposite side to prevent rolling. With a jack, lift the trailer until the wheel you’re working on is off the ground. Secure it with jack stands for added safety. Use a lug wrench to remove the wheel nuts and set the wheel aside.
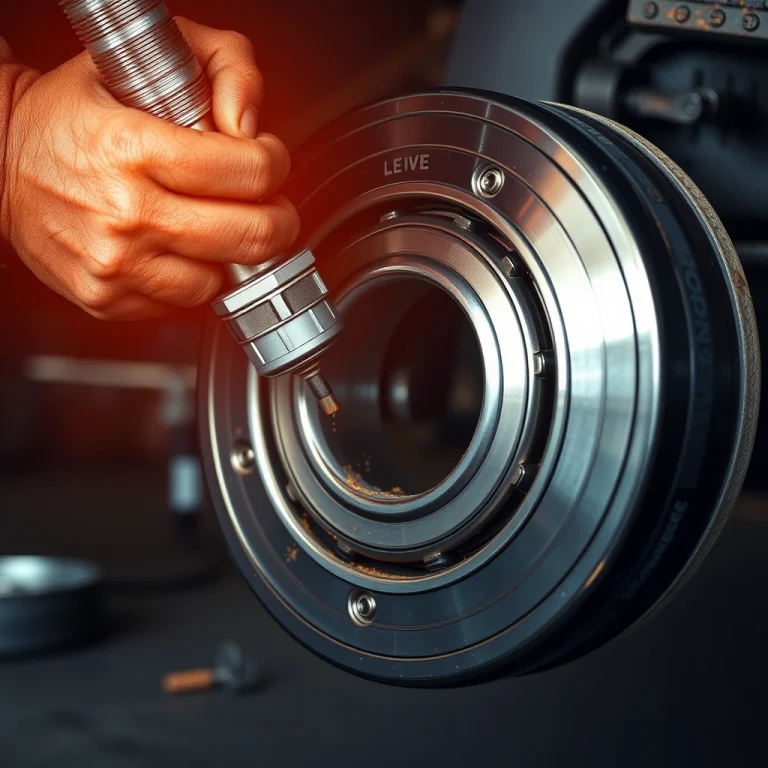
Extracting the Bearings
Locate the dust cap at the center of the wheel hub. Gently pry it off using a flathead screwdriver. This exposes the spindle nut. Before removing the nut, note its position to ensure correct reassembly later. Use pliers to remove the cotter pin, then unscrew the spindle nut and washer, placing them in a safe spot.
Slide the hub off the axle carefully. The bearings will be loose inside or attached to the spindle. Remove the outer bearing first, followed by the inner bearing and seal. Be cautious not to damage the spindle or bearing races inside the hub.
Tip: Keep the parts organized in the order of removal to simplify the reinstallation process.
Inspecting and Cleaning Components
Checking for Damage
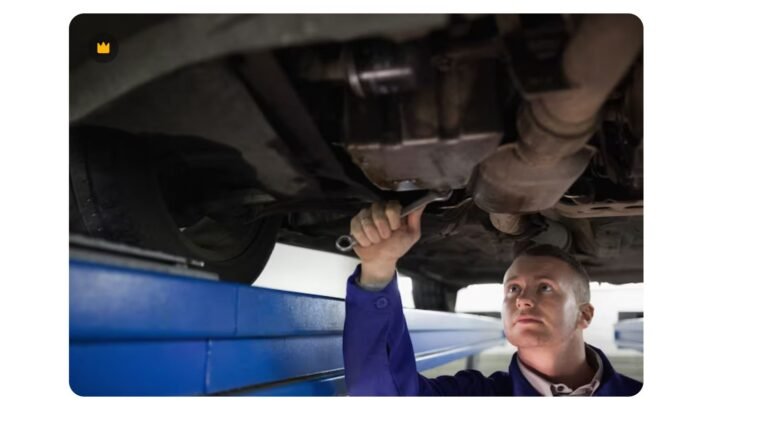
Once you have removed the hub, it’s time to inspect the components for any signs of wear or damage. Begin with the hub itself. Look for cracks, warping, or any signs of excessive wear. Use a flashlight to ensure you catch even the smallest imperfections.
Next, examine the spindle where the bearings sit. Check for scoring or grooves, which may indicate that the bearings have worn into the spindle. If you find any significant damage, consider replacing the spindle.
Finally, inspect the seals and ensure they are not cracked or hardened. Seals should be flexible and intact to prevent contaminants from entering the bearings.
Cleaning Procedures
Before installing new bearings, all components must be thoroughly cleaned. Start by using a rag to wipe away any grease and dirt from the hub and spindle. This initial cleaning helps remove the bulk of contaminants.
Use a degreaser or a solvent to clean the remaining residue. Apply the solvent with a brush, scrubbing all surfaces until they are free of grease. Be sure to wear gloves and work in a well-ventilated area when using chemical cleaners.
Once cleaned, rinse the parts with water and dry them completely with a clean cloth to avoid rust. Make sure every part is dry, as moisture can lead to rust and corrosion, which can damage the new bearings.
Tip: Use compressed air to blow out hard-to-reach areas, ensuring there’s no moisture left before reassembly.
Installing New Bearings
Greasing the Bearings
Before installing the new bearings, ensure they are thoroughly greased. Proper lubrication is essential for smooth operation and longevity. To grease the bearings:
- Place a dollop of high-temperature wheel bearing grease in the palm of your hand.
- Hold the bearing with the other hand and press the wide end of the bearing cone into the grease.
- Repeat the process until grease emerges through the small end of the rollers.
- Continue until all bearings are packed with grease.
Reassembling the Hub
Once your bearings are greased, it’s time to reassemble the hub. Follow these steps:
- Insert the Inner Bearing: Place the greased inner bearing into the hub, followed by the inner seal. Ensure the seal is seated properly by tapping it gently with a rubber mallet.
- Mount the Hub: Carefully slide the hub back onto the spindle. Be cautious to avoid damaging the seal.
- Add the Outer Bearing: Insert the greased outer bearing, then position the washer and nut.
- Tighten the Nut: Use a wrench to tighten the spindle nut until snug, then back it off slightly. Rotate the hub to ensure it spins freely.
- Secure with Cotter Pin: Align the nut’s slots with the hole in the spindle and insert a new cotter pin. Bend the pin to hold it in place.
- Replace the Dust Cap: Fit the dust cap back onto the hub to protect the bearings from dirt and moisture.
Tip: Always double-check the tightness of the spindle nut and the fit of the cotter pin for safety.
Testing the Installation
Checking for Proper Fit
After installing the new trailer bearings, you need to ensure they are seated correctly. Begin by rotating the hub by hand. It should spin smoothly without any grinding noise or resistance. If you feel any roughness, the bearings may not be seated properly, or there might be debris inside the hub.
Next, check for lateral movement by gripping the wheel at the top and bottom and rocking it. There should be minimal to no play. If there’s excessive movement, the bearings might need to be adjusted or tightened. Ensure the lock nut is secure and the cotter pin is in place to prevent the nut from loosening.
Test Drive Procedures
Once you’ve confirmed the bearings fit properly, take your trailer for a short test drive. Start by driving at a moderate speed, keeping an ear out for unusual sounds.
- Listen: Ensure there’s no humming or grinding noise. Such sounds might indicate an issue with the installation.
- Check Temperature: After driving for about 5-10 minutes, stop and feel the hub’s temperature with caution. It should be warm but not excessively hot. Overheating could signal that the bearings are too tight.
If everything seems normal, gradually increase your speed and test the trailer under different conditions. If issues arise, recheck the installation or consult a professional.
Tip: Always carry a spare bearing set and tools on long trips, just in case.
Maintenance Tips
Regular Inspection
Check your trailer bearings every 1,000 miles or before long trips. Look for signs of wear or damage, such as noise when spinning the wheel, roughness, or excessive play. If any of these signs are present, it may be time to replace the bearings.
Greasing Schedule
Regular greasing is essential to maintain your trailer bearings. Apply new grease every 3,000 miles or at least twice a year. Use high-quality wheel bearing grease suitable for high temperatures and water resistance.
Tip: After driving through water or mud, inspect and grease the bearings as soon as possible to prevent rust and contamination.
By keeping up with these maintenance tasks, you can extend the life of your trailer bearings and ensure your safety on the road.
Quick Summary
- Gather necessary tools and materials: wrench, grease, new bearings, bearing packer, and jack stands.
- Ensure safety by securing the trailer with jack stands and blocking the wheels.
- Remove the wheel by taking off the lug nuts and sliding the wheel off the hub.
- Take off the dust cap, cotter pin, and nut to access the bearings.
- Clean the hub and inspect for damage; replace if needed.
- Pack new bearings with grease and install them in the hub.
- Reassemble the hub, tighten the nut, and replace the cotter pin and dust cap before reinstalling the wheel.
Frequently Asked Questions
What tools do I need to replace trailer bearings?
You will need a socket set, a hammer, a flathead screwdriver, bearing grease, a jack, and a set of new bearings. These tools will help you safely remove the old bearings and install the new ones.
How can I tell if my trailer bearings need replacing?
Signs that your trailer bearings need replacing include unusual noises like grinding or squealing, excessive wheel play, or visible rust and wear. Regularly checking for these signs can prevent more serious issues down the road.
Is it necessary to replace both bearings and races?
Yes, it’s recommended to replace both bearings and races at the same time. This ensures that both components wear evenly and reduces the risk of future failures.
How often should trailer bearings be replaced?
Trailer bearings should typically be checked every 12 months or 12,000 miles, whichever comes first. Regular maintenance helps ensure your trailer remains safe and operational.
Can I reuse the old cotter pin when replacing trailer bearings?
No, it’s best to use a new cotter pin when replacing trailer bearings. Reusing an old cotter pin can compromise the security of the nut, which may lead to wheel issues.
- Find the Right Engine Oil for Your Car: A Quick Guide - March 1, 2026
- Car Battery Booster Basics: Start Your Vehicle in Minutes - March 1, 2026
- How Long Does It Take To Charge A Motorcycle Battery Charging Time Guide - February 28, 2026