How To Replace Trailer Wheel Bearings Diy Guide
Replacing trailer wheel bearings might seem daunting, but with a bit of patience and the right guidance, you can do it yourself. As a dedicated DIY enthusiast, understanding this process will not only save you money but also ensure your trailer’s safety.
Key points: Gather tools, access the bearings, remove the hub, replace bearings, reassemble carefully.
Understanding Trailer Wheel Bearings
Properly functioning wheel bearings are crucial for the smooth operation of your trailer. Understanding what they are and how to spot issues is the first step in maintaining them.
Types of Trailer Wheel Bearings
Trailer wheel bearings come in two main types: tapered roller bearings and ball bearings.
- Tapered Roller Bearings: These are commonly used in trailers. They handle higher loads and are often found in pairs, one for radial loads and another for axial loads.
- Ball Bearings: Less common in trailers, these are often used in lighter applications. They can handle lower loads compared to tapered roller bearings.
Signs of Wear or Damage
Identifying issues early can prevent costly repairs. Look out for these signs:
- Noise: Grinding or squealing noises when the trailer is in motion can indicate worn bearings.
- Vibration: Excessive vibration or wobbling, especially at higher speeds, might be a sign of bearing failure.
- Heat: Bearings running too hot can mean they are not properly lubricated or are damaged.
- Visible Damage: Inspect for any scoring, corrosion, or discoloration on the bearings.
Tip: Regularly check your trailer’s bearings, especially before long trips, to ensure safety and reliability.
Tools and Materials Needed
Essential Tools
Replacing trailer wheel bearings requires a set of specific tools to ensure a smooth process. Here’s what you’ll need:
- Jack and Jack Stands: These are necessary for lifting and securely supporting the trailer.
- Lug Wrench: Used to remove the wheel lug nuts.
- Socket Set: A complete set with various sizes is important for removing nuts and bolts.
- Hammer: Useful for loosening stubborn parts.
- Pliers: Needle-nose pliers are handy for removing cotter pins.
- Torque Wrench: This tool ensures that nuts are tightened to the correct specifications.
Recommended Materials
Having the right materials is just as important as having the right tools. Here’s what you’ll need:
- New Bearings and Races: Make sure they match your trailer’s specifications.
- Grease: High-temperature wheel bearing grease is necessary for lubrication.
- Grease Seals: These keep the grease in and contaminants out.
- Cotter Pins: New cotter pins should replace the old ones for secure fitting.
- Rags or Paper Towels: Useful for cleaning off old grease and dirt.
- Brake Cleaner: Helps in cleaning the hub and other components.
Tip: Always have a repair manual or guide specific to your trailer for reference, ensuring you follow the correct procedures.
Preparing the Trailer
Safety Precautions
Before working on your trailer, ensure safety is a priority. Start by parking the trailer on a flat and stable surface. Engage the parking brake and chock the wheels on the opposite side of the trailer to prevent any movement. Wearing safety gloves and goggles is recommended to protect your hands and eyes from grease and debris.
Trailer Elevation Techniques
Raising your trailer safely is essential to accessing the wheel bearings. Use a hydraulic jack to lift the trailer, placing it under the trailer’s axle near the wheel that requires bearing replacement. Ensure the jack has a sufficient weight rating for your trailer. Once lifted, secure the trailer with jack stands placed under the frame, not the axle, for stability.
Double-check the stability by gently rocking the trailer – it should remain steady and secure. Avoid using makeshift supports like cinder blocks as they can crumble under pressure.
Tip: Always keep a spare set of jack stands, just in case you need additional support or if one of your stands shows signs of wear.
With these preparations, you’re ready to proceed with the wheel bearing replacement. Proper preparation ensures the job is not only easier but also much safer.
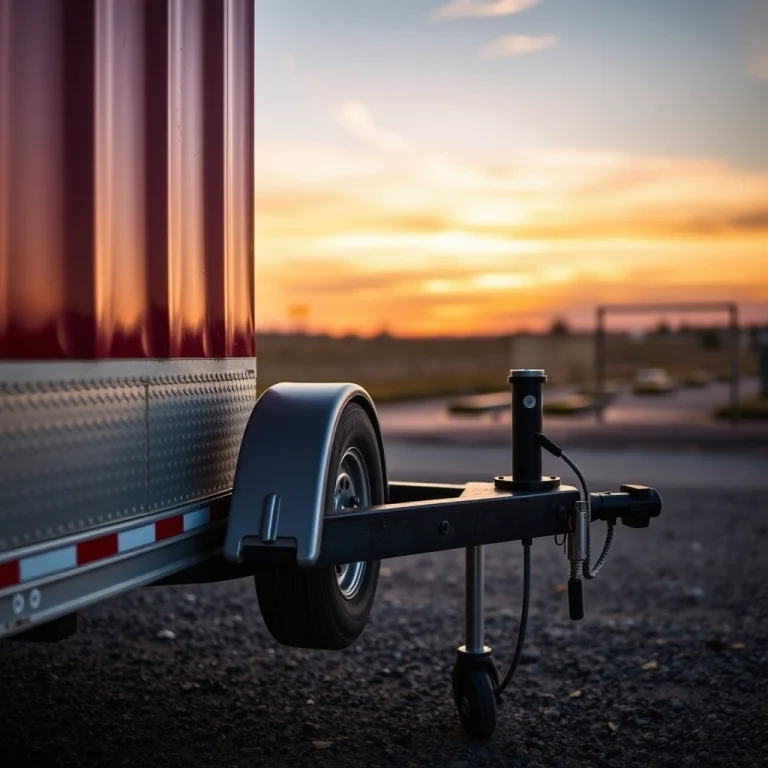
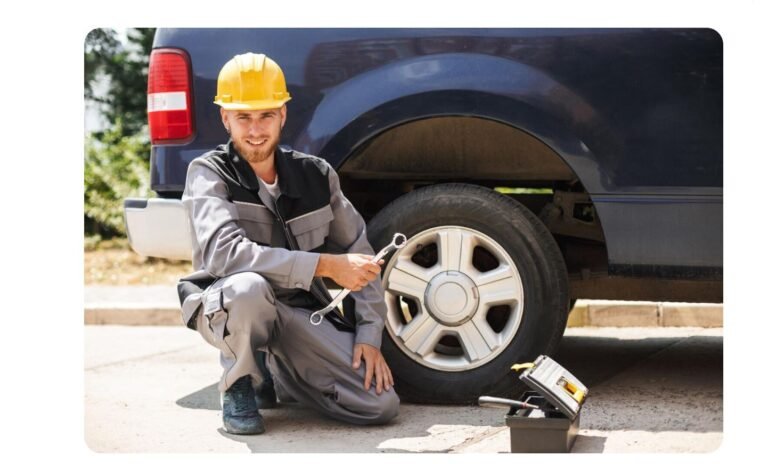
Removing the Wheel and Hub
Detaching the Wheel
Start by making sure your trailer is on a stable, level surface. Engage the parking brake and chock the opposite wheel to prevent any movement. Using a suitable wrench, loosen the lug nuts on the wheel you need to remove, but do not completely take them off yet. With the lug nuts loosened, use a jack to lift the trailer until the wheel is off the ground. Secure the trailer with a jack stand for safety.
Now, remove the lug nuts completely and take the wheel off the hub. Set the wheel aside in a safe location. This will expose the hub, allowing you to access the bearings inside.
Accessing the Hub
With the wheel removed, you’ll see the central cap on the hub. This cap protects the wheel bearings and needs to be taken off. Use a flathead screwdriver or a similar tool to gently pry off the cap, being careful not to damage it or the hub.
Once the cap is removed, you’ll see the castle nut, which is secured with a cotter pin. Use needle-nose pliers to straighten and remove the cotter pin from the nut. Keep this pin safe, as it will be used again during reassembly.
With the cotter pin out, use a wrench to unscrew the castle nut. Carefully slide the nut and washer off, taking note of their order for easy reassembly. Now, you can remove the hub from the spindle, giving you full access to the bearings inside for replacement.
Tip: Keep a clean rag handy to wipe away any grease, ensuring you minimize dirt contamination during the process.
Extracting Old Bearings
Removing the Grease Cap
Begin by removing the grease cap, which protects the wheel bearings from dirt and moisture. Use a flathead screwdriver or a pry bar to gently work around the edge of the cap, prying it away from the hub. Be careful not to damage the cap, as you’ll need to put it back later.
Taking Out the Old Bearings
Once the grease cap is off, you’ll see the spindle nut held in place by a cotter pin. Straighten the bent ends of the cotter pin with pliers and carefully pull it out. Next, use an adjustable wrench to unscrew the spindle nut. Remove the washer and outer bearing, then slide the hub off the axle.
With the hub removed, you’ll find the inner bearing and seal at the back. To remove these, you’ll need to tap them out from the opposite side using a mallet and a flat punch. Place the hub on a stable surface, and gently tap around the edges of the bearing until it comes free. Be sure to catch the bearing and seal as they pop out.
Tip: Keep the removed components in order, as they will help you when installing the new bearings.
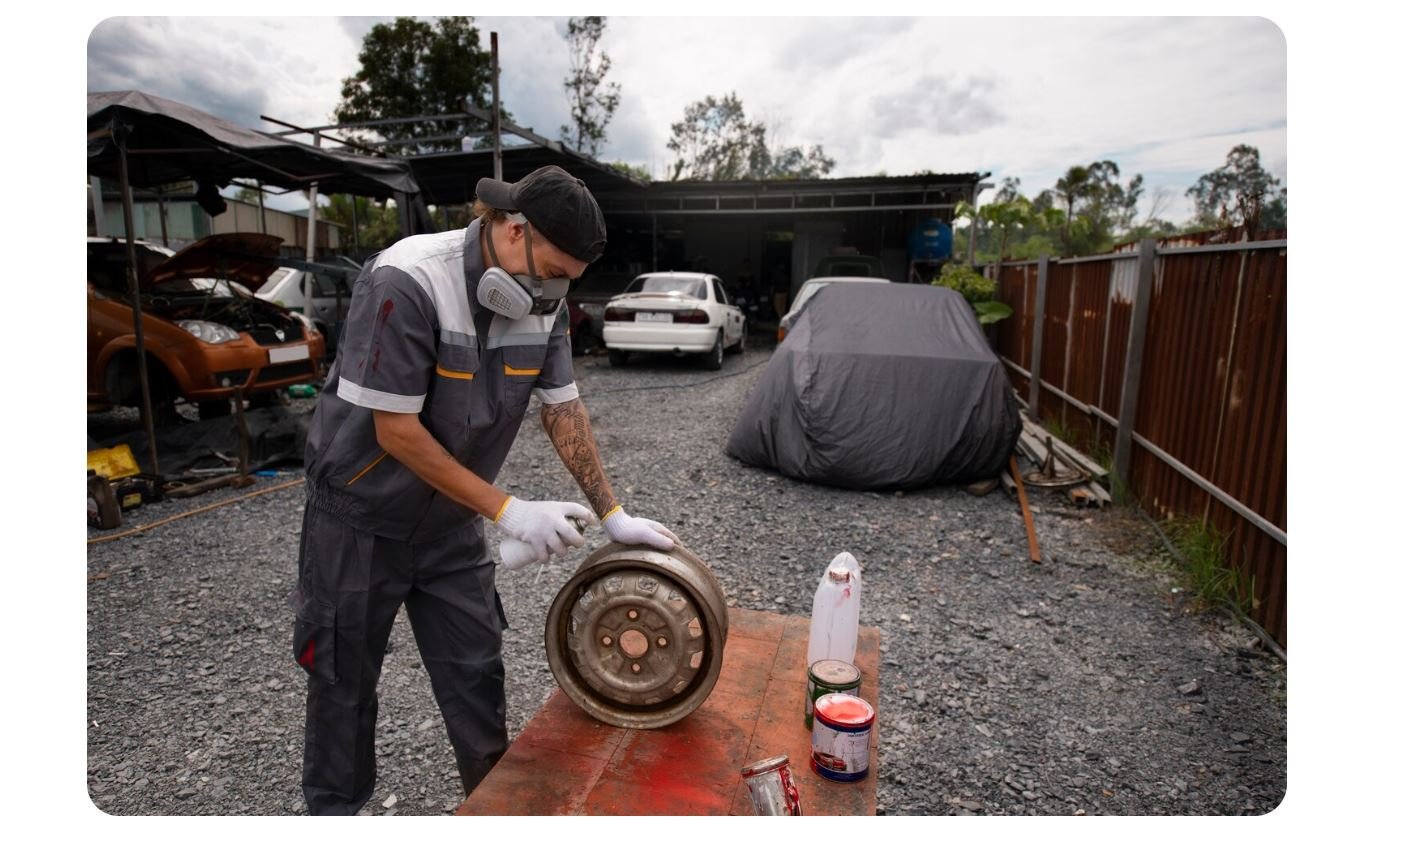
Inspect the hub and clean away any remaining grease or debris. This ensures the new bearings will have a clean and smooth surface to fit into, reducing the risk of future issues.
Installing New Bearings
Preparing the Bearings
Before installing the new bearings, ensure they are clean and free from debris. It’s crucial to pack them with grease properly. Using a high-quality wheel bearing grease, place a dollop of grease on the palm of your hand. Press the bearing into the grease, working it into the rollers until it comes out on the other side. Rotate the bearing and repeat this process until the entire bearing is thoroughly packed.
Fitting New Bearings Into the Hub
With the bearings properly greased, you can start the installation process:
- Insert the inner bearing: Place the greased inner bearing into the hub, ensuring it sits correctly against the race.
- Install the grease seal: Tap the grease seal into place using a seal driver or a flat piece of wood, ensuring it is flush with the hub.
- Position the hub: Slide the hub onto the spindle, taking care not to damage the seal.
- Fit the outer bearing: Insert the outer bearing into the hub, then place the washer and axle nut on the spindle.
- Tighten the axle nut: Tighten the nut until snug, then back it off slightly to ensure the hub spins freely with minimal play.
- Secure with a cotter pin: Align the nut’s slots with the hole in the spindle, insert a new cotter pin, and bend it to secure the nut.
Finish by installing the dust cap, ensuring it is pressed evenly onto the hub. This protects the bearings from dirt and moisture, prolonging their lifespan.
Reassembling the Wheel
Reattaching the Hub
To begin reassembling the wheel, carefully slide the hub back onto the spindle. Ensure the bearings are seated properly inside the hub. If you’re using a new cotter pin, insert it through the hole in the spindle to prevent the nut from loosening during travel. Bend the ends of the cotter pin to secure it in place.
Next, tighten the castle nut by hand until it is snug. Spin the hub to ensure it rotates freely without resistance. If the rotation feels restricted, back off the nut slightly. The goal is to have the hub secure but not overly tight, allowing for smooth operation.
Securing the Wheel
With the hub in place, align the wheel onto the hub studs. Carefully slide the wheel onto the hub, ensuring it fits snugly against the mounting surface. Begin threading the lug nuts onto the studs by hand to avoid cross-threading.
Once all lug nuts are in place, use a socket wrench to tighten them in a crisscross pattern. This ensures even pressure and prevents warping of the wheel. Initially, tighten the nuts to a moderate tension. After all nuts are moderately tight, go around again and fully tighten them to the manufacturer’s recommended torque specification using a torque wrench.
Tip: Recheck the torque on the lug nuts after driving a short distance, as they may settle and require additional tightening.
Testing and Maintenance Tips
Performing a Test Drive
After replacing your trailer wheel bearings, a test drive is essential to ensure everything is functioning correctly. Here’s how to go about it:
- Noise Check: Listen for any unusual sounds. Grinding or squealing noises may indicate improper installation or a need for adjustment.
- Vibration Test: As you drive at low and moderate speeds, notice any vibrations. Smooth operation suggests the bearings are seated properly.
- Temperature Check: After a short drive, safely touch the hub. It should be warm but not hot. Excessive heat could mean the bearings are too tight.
Regular Maintenance Practices
Ensuring the longevity of your trailer wheel bearings requires regular maintenance. Here are some practices to adopt:
- Grease Application: Repack bearings with fresh grease every 12 months or 12,000 miles. This prevents rust and reduces friction.
- Inspection Routine: Check for signs of wear or damage every time you use the trailer. Early detection can prevent more severe issues.
- Tightness Check: Periodically, ensure the bearings are neither too loose nor too tight. A snug fit is necessary for optimal performance.
- Tip: Keep a record of maintenance dates and findings. This helps track the condition over time and plan replacements.
Quick Summary
- Start by safely securing your trailer on a level surface, ensuring it won’t move while you work. Use wheel chocks and a jack for stability.
- Remove the wheel by loosening the lug nuts and lifting it off the hub. Keep all hardware in a safe place for reassembly.
- Take off the dust cap on the hub using a flathead screwdriver or similar tool, exposing the spindle nut beneath.
- Remove the cotter pin, spindle nut, and washer, then pull off the hub; keep parts organized for easy reassembly.
- Clean the spindle thoroughly and inspect for any damage or wear before proceeding with new bearings.
- Pack the new bearings with high-temperature wheel bearing grease, ensuring they are fully coated for optimal performance.
- Reassemble the hub by inserting the inner bearing, installing a new grease seal, and sliding the hub back onto the spindle. Secure it with the washer and spindle nut, adjusting as needed to eliminate play without overtightening.
Frequently Asked Questions
What tools do I need to replace trailer wheel bearings?
You’ll need a jack, wheel chocks, a socket set, a hammer, pliers, and a bearing packer. Make sure to have plenty of grease and a clean cloth on hand as well.
How can I tell if my trailer wheel bearings need replacing?
Listen for unusual noises like grinding or squealing, and check for excessive play or wobbling in the wheel. Overheating hubs can also be a sign that bearings need replacing.
What are the steps to replace trailer wheel bearings?
Begin by safely jacking up the trailer and removing the wheel. Take off the hub, remove the old bearings, clean the hub, pack the new bearings with grease, and reassemble everything.
How often should trailer wheel bearings be replaced?
It is generally recommended to check your trailer bearings annually and replace them every 12,000 to 15,000 miles. Always inspect them before long trips to ensure safety.
Can I replace trailer wheel bearings myself, or should I hire a professional?
If you’re comfortable with basic mechanical tasks and have the right tools, you can replace them yourself. However, if you’re uncertain or lack experience, consulting a professional is the safer choice.
- Find the Right Engine Oil for Your Car: A Quick Guide - March 1, 2026
- Car Battery Booster Basics: Start Your Vehicle in Minutes - March 1, 2026
- How Long Does It Take To Charge A Motorcycle Battery Charging Time Guide - February 28, 2026