How To Reset Crankshaft Position Sensor A Step-by-step Guide
Imagine you’re deep into your DIY car project, only to find that your engine isn’t running smoothly. One common culprit could be the crankshaft position sensor needing a reset, a task that might seem daunting but is entirely doable with the right guidance.
To reset the crankshaft position sensor, disconnect the battery, wait a few minutes, reconnect, and then perform a test drive. This simple process can help your engine regain optimal function without professional intervention.
Understanding the Crankshaft Position Sensor

The crankshaft position sensor plays a critical role in your vehicle’s engine management system. Understanding its function and recognizing when it might need resetting can save you time and effort.
What It Does
The crankshaft position sensor monitors the position and rotational speed of the crankshaft. This data is essential for the engine control unit (ECU) to adjust the timing of the ignition and fuel injection. A well-functioning sensor ensures your engine runs smoothly and efficiently.
Common Symptoms of Malfunction
Sometimes, the sensor may need resetting. Here are some common signs that might indicate this:
- Engine Misfires: If the sensor isn’t providing accurate data, it can lead to misfires.
- Difficulty Starting: A faulty sensor might make it hard to start the engine.
- Check Engine Light: The ECU may trigger this light if it detects issues with the sensor.
- Stalling: The engine may stall intermittently if the sensor is malfunctioning.
Resetting the sensor can sometimes resolve these issues. However, if symptoms persist, further diagnostics might be necessary to pinpoint and fix the problem.
Tools and Equipment Needed
Essential Tools
To reset a crankshaft position sensor, you’ll need a few basic tools. Having these on hand will make the process smoother and more efficient:
- Socket Set: A standard socket set is necessary to remove the sensor mounting bolts. Ensure you have the correct size to avoid stripping the bolts.
- Screwdriver: A flathead or Phillips screwdriver may be needed to detach any clips or covers that protect the sensor.
- Digital Multimeter: Essential for checking the electrical connections and ensuring the sensor is functioning after the reset.
- OBD-II Scanner: This tool will help clear any fault codes from the vehicle’s computer system after the sensor is reset.
Safety Gear
Safety should always be a priority when working on your vehicle. Here’s what you need to stay safe:
- Gloves: Wearing gloves will protect your hands from sharp edges and prevent getting them dirty with grease and oil.
- Safety Glasses: Essential for protecting your eyes from dirt, debris, and any accidental fluid sprays.
- Protective Clothing: Wear old clothes or coveralls that you don’t mind getting dirty while working under the hood.
Tip: Always ensure the car is turned off and the keys are removed from the ignition before beginning any work to prevent accidental starts.
Preparing Your Vehicle

Ensuring Safety
Before you start working on your vehicle, it’s essential to prioritize safety. Begin by parking your car on a flat surface and engaging the parking brake. This helps prevent any unintended movement while you’re working. Turn off the engine and remove the key from the ignition to ensure no power is running through the vehicle.
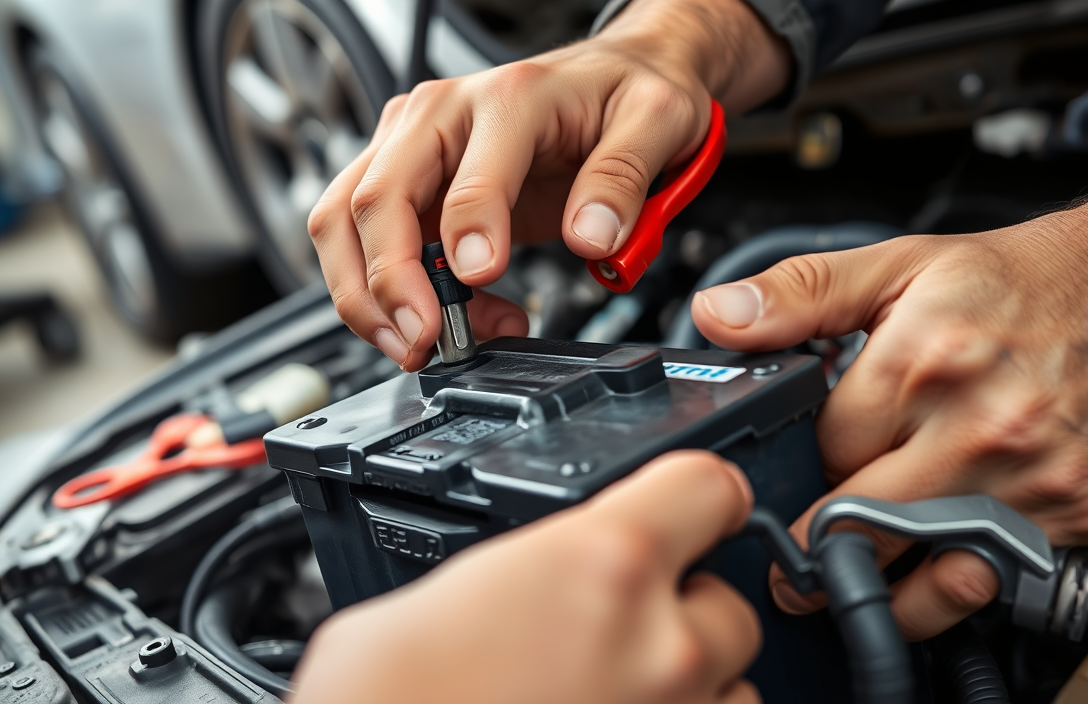
Disconnect the negative battery cable to prevent any electrical shorts or shocks while handling the sensor. This step is crucial in avoiding accidental deployments of airbags or other electrical issues.
Tip: Wear safety gloves and goggles to protect yourself from any accidental spills or debris.
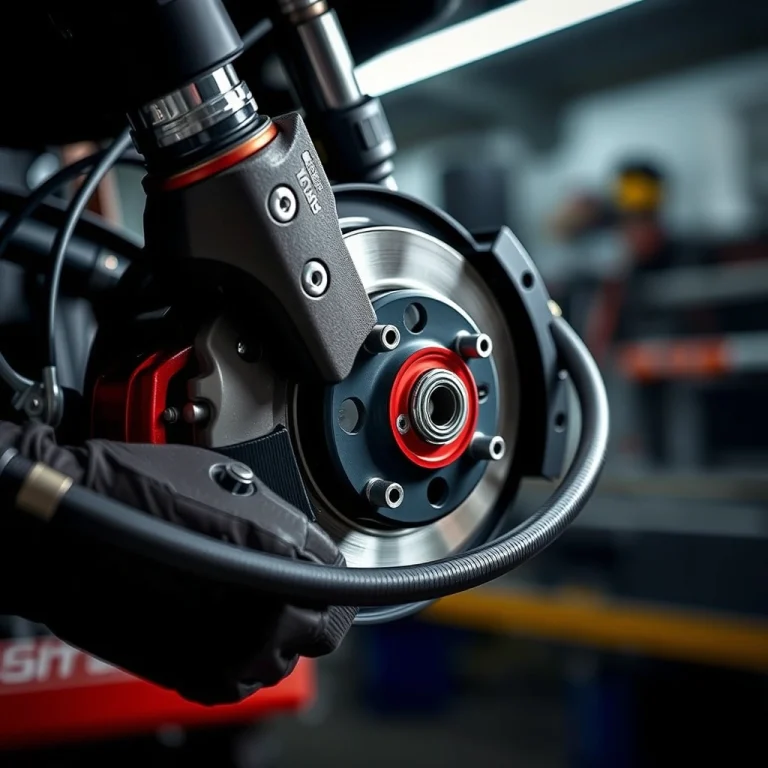
Locating the Sensor
Finding the crankshaft position sensor can vary depending on your vehicle’s make and model, but generally, it is located near the engine’s bottom, close to the crankshaft itself. Here’s a simple guide to help you locate it:
- Check the repair manual: Refer to your vehicle’s repair manual for the exact location. This is the most reliable source for information specific to your car.
- Look near the timing cover: In many vehicles, the sensor is positioned near the timing cover or the engine block.
- Inspect around the oil pan: Some models have the sensor mounted around the oil pan area.
Once you’ve located the sensor, ensure you have the right tools for removal. Typically, a socket set or a wrench will be needed.
Removing the Crankshaft Position Sensor
Step-by-Step Removal Process
To remove the crankshaft position sensor, follow these steps:
- Disconnect the Battery: Start by disconnecting the negative terminal of the vehicle’s battery to ensure safety and prevent any electrical shorts.
- Locate the Sensor: Find the crankshaft position sensor, usually located near the engine’s bottom, close to the crankshaft pulley.
- Access the Sensor: Depending on your vehicle make and model, you may need to remove other components, like the engine cover or air filter housing, to access the sensor.
- Disconnect the Wiring: Carefully unplug the electrical connector from the sensor. Use a small flathead screwdriver if necessary to release any clips.
- Remove Mounting Bolts: Use the appropriate socket wrench to remove the bolts securing the sensor to the engine block.
- Extract the Sensor: Gently pull the sensor out of its housing. If it’s stuck, wiggle it slightly while pulling to free it.
Handling Precautions
When removing the crankshaft position sensor, remember:
- Avoid Force: Do not use excessive force when removing the sensor, as this could damage the sensor or its housing.
- Clean Area: Keep the area around the sensor clean to prevent debris from entering the engine block.
- Check for Damage: Inspect the removed sensor for any signs of damage before installing a new one.
Tip: Take a photo of the sensor and its connections before removal to assist with proper reinstallation.
Resetting the Crankshaft Position Sensor
Manual Reset Procedure
Resetting the crankshaft position sensor manually can often be accomplished by disconnecting the vehicle’s battery. This process helps clear any stored error codes in the engine control unit (ECU). Here’s how you can do it:
- Turn off the engine and remove the keys from the ignition.
- Open the hood and locate the battery.
- Use a wrench to disconnect the negative battery cable from the terminal.
- Wait for about 15 minutes to ensure the ECU resets.
- Reconnect the negative battery cable and tighten it securely.
- Close the hood and start the engine to see if the issue is resolved.
Tip: Be sure to have your radio security code handy if required, as disconnecting the battery can reset some vehicle settings.
Using Diagnostic Tools
For a more precise reset or if manual methods don’t work, using diagnostic tools is a reliable option. These tools can communicate directly with the vehicle’s ECU:
- Connect a compatible OBD-II scanner to the diagnostic port, usually located under the dashboard.
- Turn the ignition to the “On” position without starting the engine.
- Access the scanner menu to select “Clear Fault Codes” or “Reset Sensors.” This varies depending on the scanner model.
- Follow the scanner prompts to reset the crankshaft position sensor.
- Once completed, turn off the ignition, disconnect the scanner, and start the engine to verify the reset.
Note: Ensure the scanner is compatible with your vehicle make and model for effective communication.
Reinstalling the Sensor
Reinstallation Steps
Begin by ensuring the crankshaft position sensor is clean and free from debris. Align the sensor with its mounting position, making sure the connector is facing the correct direction for easy access.
- Gently insert the sensor into its slot, ensuring it fits snugly without forcing it. The sensor should slide in smoothly if aligned correctly.
- Secure the sensor using the mounting bolts. Tighten them to the manufacturer’s specified torque to avoid damaging the sensor or the mount.
- Reconnect the electrical connector, ensuring it clicks into place securely. Double-check the wiring to ensure there are no loose connections.
Testing Sensor Function
With the sensor reinstalled, it’s time to test its functionality. Start the engine and observe the following:
- Check for dashboard warnings such as the check engine light. If any lights appear, a diagnostic scan may be necessary.
- Listen for engine irregularities like misfires or rough idling. These could indicate issues with the sensor’s installation.
- Drive the vehicle for a short distance to ensure smooth operation and responsiveness. Pay attention to any unusual sounds or behavior.
Tip: If the engine fails to start or runs erratically, recheck the sensor’s alignment and connections before considering other potential causes.
Troubleshooting Common Issues
If you’ve reset your crankshaft position sensor and are experiencing issues, don’t worry. Here are some common problems and their solutions to get you back on track.
Error Codes
After resetting the sensor, you might encounter error codes. These typically indicate that the sensor isn’t communicating properly with the vehicle’s computer.
- P0335: This code means the sensor circuit is malfunctioning. Check the wiring and connectors for any damage or loose connections.
- P0336: This suggests a performance issue with the sensor. Ensure the sensor is correctly positioned and secured.
Persistent Problems
Sometimes, issues may persist even after addressing error codes. Here are some additional steps:
- Faulty Sensor: If the problem continues, the sensor itself might be faulty. Consider replacing it with a new one.
- ECU Reset: Disconnect the battery for about 15 minutes to reset the vehicle’s computer. This can sometimes clear lingering issues.
- Calibration: Some vehicles require sensor calibration post-reset. Refer to your vehicle’s manual for specific instructions.
Tip: Always ensure the engine is off and the keys are removed from the ignition before working on the sensor.
Maintenance Tips for Longevity
Regular Checks
To ensure your crankshaft position sensor remains reliable over time, regular checks are essential. Inspect the sensor for any visible signs of wear or damage. Any cracks or corrosion can affect its performance. Regularly check the sensor’s wiring and connections for any loose or frayed wires. A secure connection is crucial for accurate readings.
Preventive Measures
Keeping the sensor clean is one of the simplest yet most effective maintenance tips. Dust and grime can interfere with its operation, so gently clean the sensor with a dry cloth during routine maintenance. Avoid using water or harsh chemicals that might damage the sensor.
Another preventive measure is to monitor your vehicle’s performance. If you notice erratic engine behavior, it might be a sign to inspect the sensor. Addressing minor issues early can prevent bigger problems down the line.
Tip: Always use manufacturer-recommended parts if a replacement is necessary. This ensures compatibility and durability.
Quick Summary
- Begin by locating the crankshaft position sensor in your vehicle, generally found near the engine’s bottom or side.
- Disconnect the vehicle’s battery to ensure safety before handling any electrical components.
- Remove the sensor by loosening the bolts or screws securing it and disconnecting any attached wiring connectors.
- Inspect the sensor and its wiring for any visible damage or debris that could affect its performance.
- Replace the sensor with a new one if necessary, ensuring it’s correctly aligned and securely fastened.
- Reconnect the battery and start the engine to verify that the sensor reset successfully and the engine runs smoothly.
- Consider consulting the vehicle’s service manual for specific instructions related to your car model and make.
Frequently Asked Questions
What is the first step in resetting a crankshaft position sensor?
The first step is to disconnect the battery to ensure safety and reset the vehicle’s electronics. This prevents any electrical shorts or shocks during the process.
Do I need special tools to reset the crankshaft position sensor?
You typically do not need special tools, but a basic set of wrenches and a multimeter can help for checking electrical connections.
How do I know if my crankshaft position sensor needs resetting?
Common signs include the engine not starting, poor acceleration, or the check engine light being on. Resetting might help if these issues persist after replacing the sensor.
Can a reset fix all issues with the crankshaft position sensor?
A reset can solve minor electronic glitches, but it won’t fix a faulty sensor or mechanical problems. If issues continue, further diagnosis or replacement may be necessary.
Is it necessary to reset the sensor after replacing it?
Yes, resetting can help clear any error codes and allows the vehicle’s computer to recalibrate with the new sensor data.
- Find the Right Engine Oil for Your Car: A Quick Guide - March 1, 2026
- Car Battery Booster Basics: Start Your Vehicle in Minutes - March 1, 2026
- How Long Does It Take To Charge A Motorcycle Battery Charging Time Guide - February 28, 2026