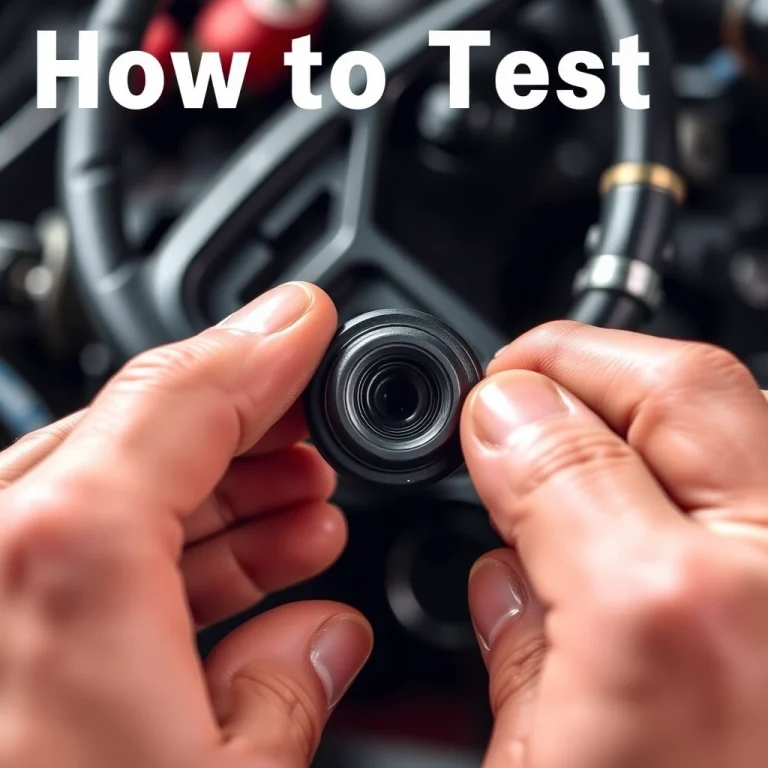
How To Test Fuel Injector In 5 Easy Steps For Diy Enthusiasts
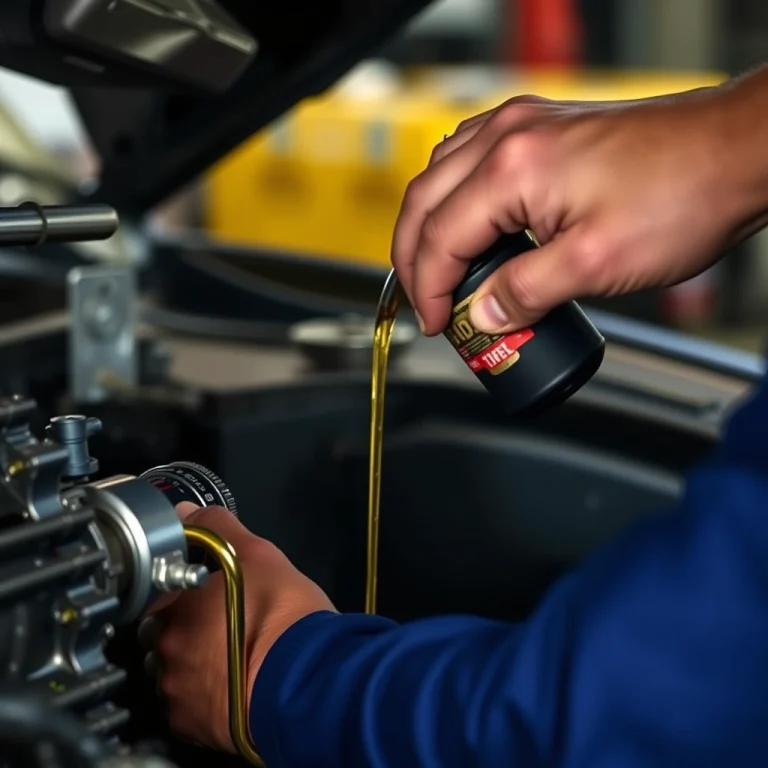
Imagine your car hesitating, misfiring, or struggling to start. These can be signs of a faulty fuel injector, a small but essential component in maintaining your engine’s smooth operation.
Testing a fuel injector involves checking for clogs, leaks, and electrical issues, ensuring it delivers the right amount of fuel effectively.
Understanding Fuel Injectors

What Are Fuel Injectors?
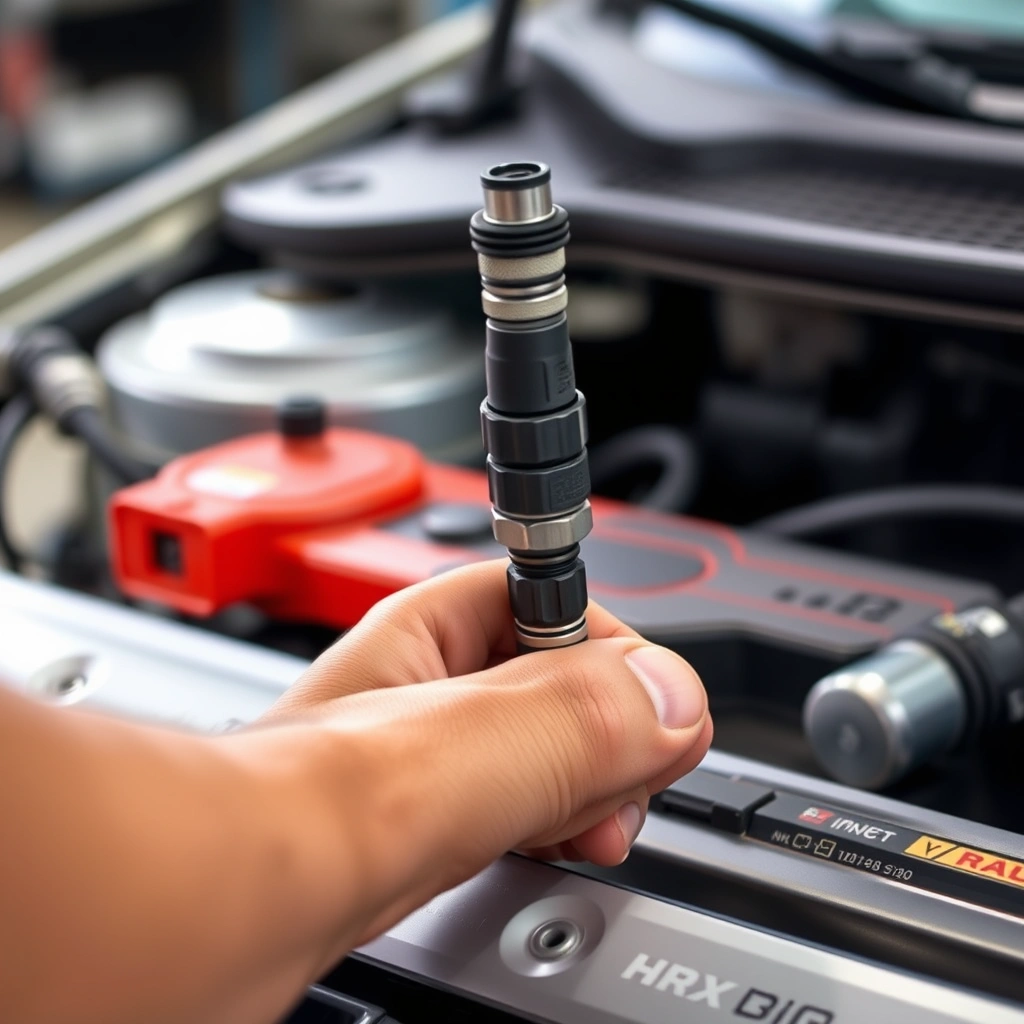
Fuel injectors play a key role in your vehicle’s engine. They are responsible for delivering the right amount of fuel into the combustion chamber, ensuring efficient engine performance. Each injector is like a tiny nozzle that sprays fuel in a fine mist, allowing it to mix with air and ignite smoothly.
Types of Fuel Injectors
There are various types of fuel injectors, including throttle body injectors, port fuel injectors, and direct injectors. Throttle body injectors are located in the throttle body and feed the engine uniformly. Port fuel injectors deliver fuel right into the intake port, while direct injectors spray fuel directly into the combustion chamber, offering more precise control.
Common Symptoms of Faulty Injectors
Faulty fuel injectors can lead to many problems. Here are some signs to watch out for:
- Poor engine performance – Misfires or a rough idle may indicate injector issues.
- Increased fuel consumption – Faulty injectors can lead to inefficient fuel usage.
- Engine knocking – This happens when the fuel-air mixture isn’t optimal.
- Check engine light – Often illuminates due to injector-related problems.
Recognizing these symptoms early can help you address potential issues before they result in more significant engine problems.
Safety Precautions
Necessary Safety Gear
Before beginning any work on fuel injectors, wearing the appropriate safety gear is a must. Ensure you have protective gloves to avoid skin contact with fuel, and safety goggles to protect your eyes from any unexpected sprays. A long-sleeved shirt and durable pants can provide additional protection for your skin.
Battery Disconnection
One of the first steps in ensuring safety is disconnecting the vehicle’s battery. This prevents any accidental electrical shorts or sparks, which could lead to dangerous situations when working with fuel components. Carefully remove the negative cable first, followed by the positive, and make sure the cables are secured away from the battery terminals.
Work Area Preparation
Your workspace should be well-ventilated to avoid the buildup of fuel vapors, which are not only harmful but also flammable. Keep a fire extinguisher nearby, rated for Class B fires, which involve flammable liquids. Clear the area of any unnecessary tools or materials that could cause a trip hazard, and ensure there is enough light to clearly see what you’re working on.
By following these precautions, you significantly reduce the risk of accidents and ensure a safer environment while testing fuel injectors.
Gathering Required Tools

Basic Tools
Before testing a fuel injector, gather a few essential tools. These are commonly found in most home garages and are necessary for initial testing and safety.
- Screwdrivers: Both flathead and Phillips screwdrivers will assist in removing covers and accessing the fuel injector.
- Socket Set: A set of sockets can help loosen and remove bolts holding the injector in place.
- Work Gloves: Protect your hands from fuel, oil, and other contaminants.
- Safety Glasses: Keep your eyes safe from splashes and debris.
Specialized Testing Equipment
To perform a precise test on a fuel injector, specific testing equipment is required. Here’s what you’ll need:
- Multimeter: Use this to check the electrical resistance of the injector. This can help determine if the injector is receiving the correct voltage.
- Fuel Pressure Gauge: This tool checks the pressure in the fuel system, ensuring it’s within the correct range for proper injector function.
- Injector Tester: A specialized tool that can test the injector’s spray pattern and functionality. Some models can simulate engine conditions for a thorough test.
- Cleaning Kit: While not a testing tool, a cleaning kit can help remove deposits that may affect injector performance.
Tip: Always refer to your vehicle’s manual for specific details on accessing and testing fuel injectors. This ensures you use the tools correctly and safely.
Visual Inspection
Conducting a visual inspection of your fuel injectors is a straightforward task that can reveal obvious issues. Below are steps to guide you through the process.
Checking for Leaks
Fuel leaks are a common issue with injectors. To check for leaks, follow these steps:
- Start the engine: Allow it to idle while you inspect the injectors.
- Look for fuel drips: Examine the area around each injector for any signs of fuel leakage. This could appear as wet spots or fuel stains.
- Use a flashlight: A flashlight can help illuminate dark areas, making leaks easier to spot.
Tip: If you smell gasoline while the engine is running, it may indicate a leak even if you can’t see one.
Inspecting Injector Connectors
The connectors are crucial for the injector’s electrical function:
- Check for corrosion: Look at the metal contacts inside the connectors. Corrosion can affect the electrical conductivity.
- Ensure connectors are secure: Gently tug on the connector to see if it’s loose. A loose connector can cause intermittent firing issues.
- Inspect wiring: Look for any frayed or damaged wires that could disrupt the injector’s operation.
If you find any of these issues during your visual inspection, consider consulting a professional for further diagnosis and repair. Catching these problems early can save you from more extensive repairs down the line.
Conducting a Resistance Test

Using a Multimeter
To test the electrical resistance of your fuel injectors, a multimeter is your primary tool. This device will measure the resistance across the injector’s terminals, helping you determine if it functions correctly.
- Step 1: Turn off the vehicle’s ignition and disconnect the battery to ensure safety.
- Step 2: Locate the fuel injector you want to test. This usually involves removing any engine covers or components obstructing access.
- Step 3: Set your multimeter to the ohms (Ω) setting, which measures resistance.
- Step 4: Connect the multimeter probes to the injector’s terminals. Ensure the connections are secure for an accurate reading.
Interpreting Resistance Readings
Once you have a reading, compare it to the manufacturer’s specifications, typically found in your vehicle’s service manual. Most fuel injectors have resistance values between 11-18 ohms, but this can vary based on the vehicle model.
- Within Spec: If the reading matches the specified range, the injector is likely functioning well.
- Higher Resistance: A reading above the range may indicate a faulty coil or internal damage, suggesting the need for replacement.
- Lower Resistance: If the reading is below the range, it might mean a short circuit, also pointing to a need for replacement.
Tip: Always test multiple injectors if you suspect one is faulty, comparing their readings can help identify inconsistencies.
Performing a Fuel Injector Leak Test
Using a Fuel Pressure Gauge
To test for leaks in your fuel injectors, a fuel pressure gauge is a reliable tool. This method helps identify if injectors are leaking fuel when the engine is off, which could lead to poor performance or hard starts.
Steps to follow:
- Turn off the engine and allow it to cool. Disconnect the negative battery terminal to ensure safety.
- Locate the fuel rail where the injectors are seated. There should be a test port on the fuel rail.
- Attach the fuel pressure gauge to the test port. Ensure it is securely connected to prevent any fuel leaks during testing.
- Reconnect the battery terminal, and turn the ignition key to the “on” position without starting the engine. This will pressurize the system.
- Observe the pressure reading on the gauge. Note the initial reading, then leave the system pressurized for about 15 minutes.
Detecting Leaks
After the waiting period, check the pressure gauge again. A drop in pressure indicates a possible leak.
- No Pressure Drop: If the pressure remains steady, your injectors are likely not leaking.
- Pressure Drop Detected: A noticeable drop in pressure suggests a leak in one or more injectors. Further inspection of each injector will be needed to identify the faulty one.
Tip: Always wear safety goggles and gloves when working with the fuel system to protect against fuel exposure.
Flow Testing Fuel Injectors
Setting Up a Flow Test
Begin by preparing your workspace with safety in mind. Ensure you have protective eyewear and gloves. Gather the necessary tools: a fuel injector flow bench or a similar test rig, measuring cylinders or graduated test tubes, and a stopwatch. It’s important that your testing equipment is clean and free of debris to prevent contamination.
Securely mount the fuel injector to the test bench. Connect the injector to the fuel supply line, ensuring there are no leaks. Set the fuel pressure to the manufacturer’s specified level, usually around 40-50 psi, but this may vary depending on your vehicle’s specifications.
Analyzing Flow Patterns
With the setup complete, activate the injector using the test bench’s control system. Allow the injector to spray into the measuring cylinder for a set period, typically 30 seconds. Use a stopwatch to keep track of the time accurately.
Once the test is complete, measure the fuel volume in the cylinder. Compare this measurement against the manufacturer’s specifications for your injector. Consistent and even spray patterns indicate a well-functioning injector, while uneven patterns or low flow rates suggest clogging or other issues.
Tip: If you notice discrepancies, try cleaning the injector with a professional-grade cleaner before retesting.
Cleaning and Maintenance Tips
Cleaning Solutions
To maintain fuel injectors in great shape, using appropriate cleaning solutions is essential. Fuel injector cleaners can be added directly to your fuel tank. These solutions help in dissolving deposits and preventing clogging. Consider using a cleaner every 3,000 to 5,000 miles to keep injectors functioning efficiently.
Tip: Use only high-quality fuel injector cleaners recommended for your vehicle’s engine type.
Routine Maintenance Practices
Regular maintenance can prevent issues before they start. Here’s a simple checklist to follow:
- Inspect Fuel Filter: A clean fuel filter ensures no dirt reaches the injectors. Replace it as per your vehicle’s manual.
- Monitor Fuel Quality: Always use high-quality fuel from reputable stations to reduce the risk of contamination.
- Check Injector Seals: Ensure the seals are intact to prevent leaks and maintain proper pressure.
By adhering to these cleaning and maintenance practices, you’ll help ensure your fuel injectors remain in good working condition, contributing to better engine performance and longevity.
Quick Summary
- Check for signs of a malfunctioning fuel injector, such as poor fuel economy, rough idling, or difficulty starting the engine.
- Use a fuel injector tester or multimeter to measure resistance, ensuring it’s within the manufacturer’s specified range.
- Perform a visual inspection for leaks or carbon buildup around the injector, which can indicate seal failure or clogging.
- Conduct a listening test using a mechanic’s stethoscope to detect the clicking sound of a functioning injector.
- Consider using a fuel injector cleaner additive as a preventive measure or to address minor clogging issues.
- If issues persist, remove and professionally clean or replace the fuel injectors to restore optimal performance.
Frequently Asked Questions
What tools do I need to test a fuel injector?
You’ll need a multimeter for electrical tests, a fuel pressure gauge for checking pressure, and possibly an injector tester to assess spray patterns. Having these tools ensures accurate and effective testing.
How can I tell if a fuel injector is clogged?
Symptoms of a clogged fuel injector include engine misfires, rough idling, and poor fuel economy. Testing can confirm clogs by assessing the spray pattern and flow rate.
What are the steps to test the electrical function of a fuel injector?
Use a multimeter to measure the resistance across the injector’s terminals. Compare your reading to the manufacturer’s specifications to determine if the injector is functioning properly.
How do I check the spray pattern of a fuel injector?
Remove the injector and connect it to an injector tester. Observe the spray pattern; it should be fine and even. Any drips or irregularities indicate a problem.
Is it necessary to clean fuel injectors regularly?
Yes, regular cleaning helps maintain optimal performance and efficiency. Over time, deposits can build up and restrict fuel flow, leading to various engine issues.
- Find the Right Engine Oil for Your Car: A Quick Guide - March 1, 2026
- Car Battery Booster Basics: Start Your Vehicle in Minutes - March 1, 2026
- How Long Does It Take To Charge A Motorcycle Battery Charging Time Guide - February 28, 2026